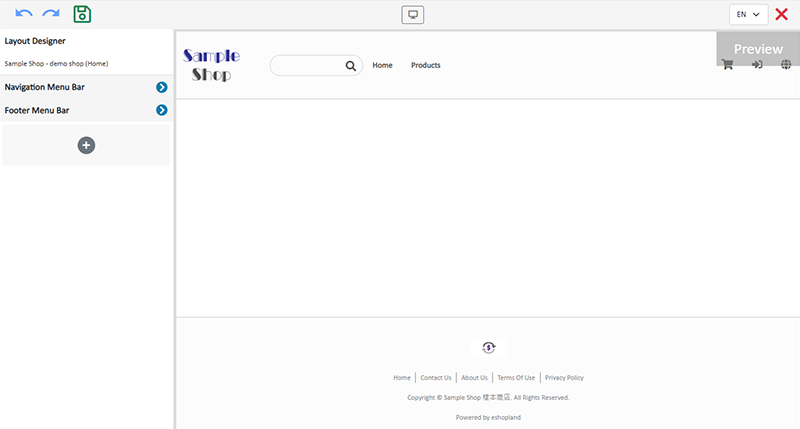
Manage Modules
Utilizing modular layout design in the web design architecture of the online shops, eshopland ecommerce platform offers various design modules with different functionalities, allowing you to add, edit and organize the modules in the web page Layout Designer. Build your unique and personalized online shop website effortlessly on eshopland platform.
Below are the basic settings of the web design modules.
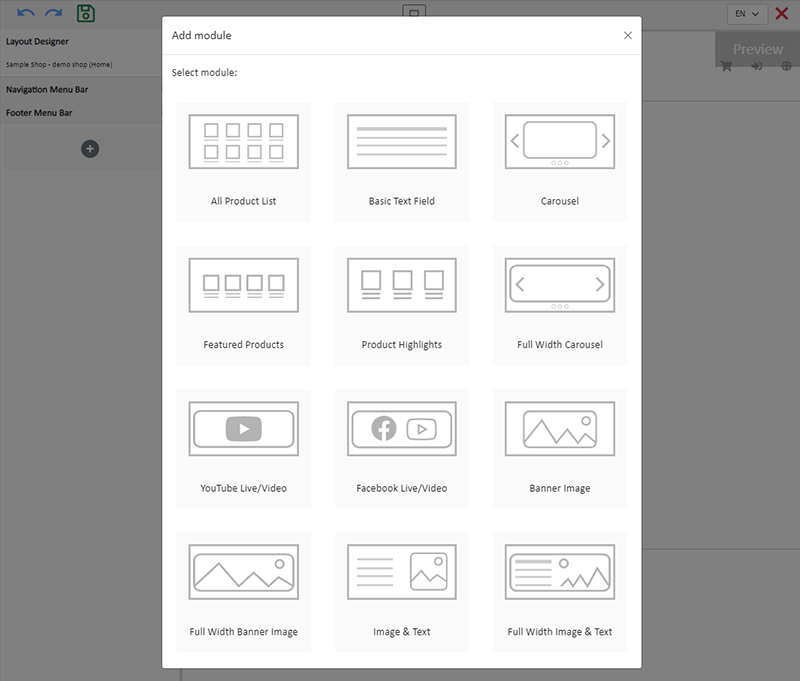
1. Adding modules
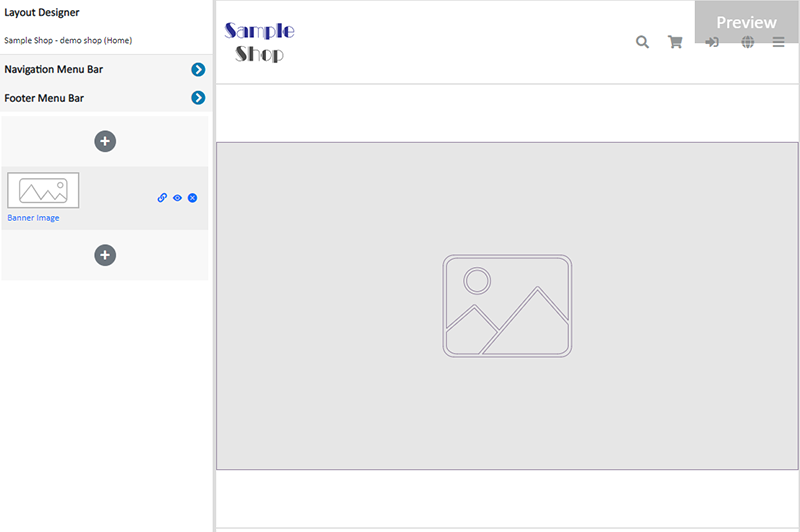
Go to Admin Panel > Design > Pages > select a page > Layout Designer.
Press Add New  and select a module to add.
Adding a module, the module will be synchronized onto other language pages (if any).
The synchronized module is blank, content to be added individually.
Add-module feature is only available for designated plan users.
If your service plan does not include add-module feature, you can still edit and design the system default modules in your account.
The added module will be displayed on the preview area on the right.
You can add other new modules over or below the current module.
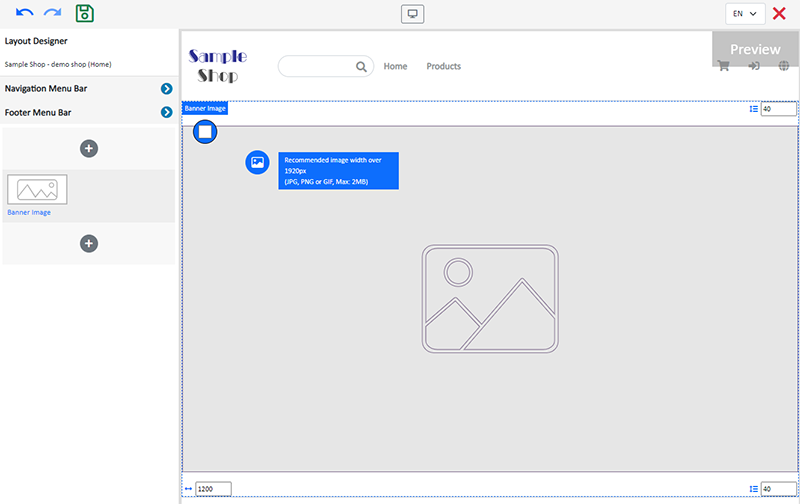
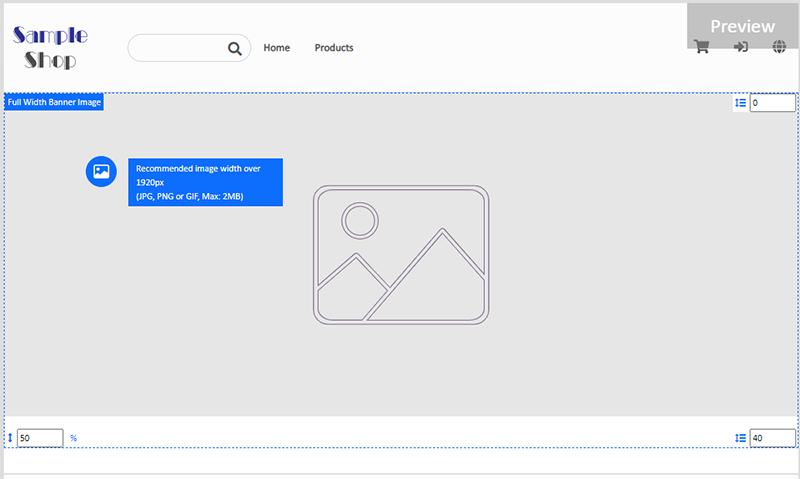
2. Setting the Width and Interval of the module
Width
Enter or adjust the number on the bottom left corner of the module, to set the width of the module.
Using pixel (px) as the unit.
Interval
Enter or adjust the number on the top and bottom right corner of the module, to set the intervals between modules.
Using pixel (px) as the unit.
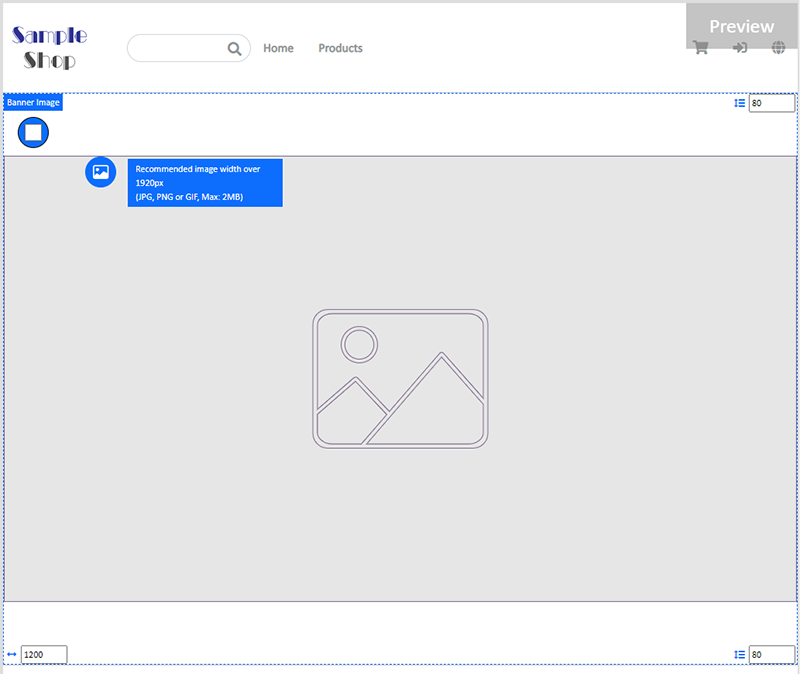
Height Ratio
Enter or adjust the number on the bottom left corner of the module to set the module height ratio (%) according to the displaying screen.
The system will auto crop the image according to the module height ratio setting.
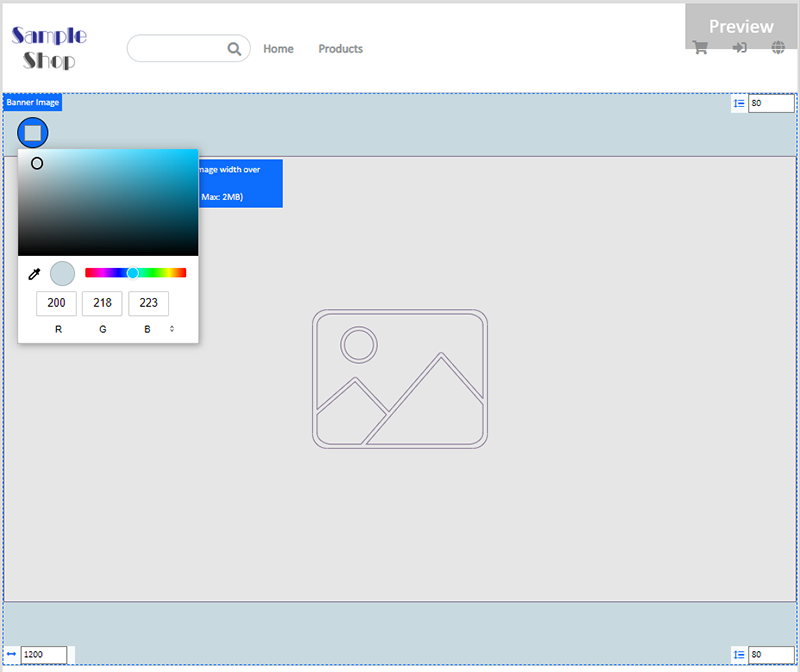
3. Setting Background Color of the Modules
The background color of the modules is white by default.
Click on Background Color  , select color or enter RBG or HEX color code to change the background color of the module.
The updated background color will be synchronized onto other language pages (if any).
4. Setting the Modules
You can drag and move the modules on the left Tools area to reorder the modules.
Other settings:
 Adding a link
Link the module to a specific page, category product within your online shop, or to other external URL.
 Visibility
Set the module to “Visible” or “Hidden”.
You can set different visibility of an individual image or module in different language pages (if any).
 Deleting a module
Deleting a module will be applied to all language pages.
5. Apply
Save  the changes.
Popular Articles


You May Also Like
ShipAny Waybill Printing (iOS)
Merchant who has equipped with wireless printer can enjoy wireless waybill printing by using ShipAny logistics automation services on eshopland iOS App. 1-button wireless printing, no plugin is requ... [read more]
Page Settings
eshopland platform allows you to specify the page settings your shop webpages, effectively improve the on-page SEO (search engine optimization) and make customers to search your shop on the search e... [read more]
Shop Status
You can change your Shop Status according to your business operations at any time. You can set your Shop Status to “Open” or “Preparing”.1. Login and go to the Admin Panel. Click Settings > Genera... [read more]
Start Live Stream Auto Order
Merchants who have subscribed the Live Stream Auto Order feature simply need to complete a straightforward setup in eshopland online shop backend. This setup allows merchants to automatically receiv... [read more]