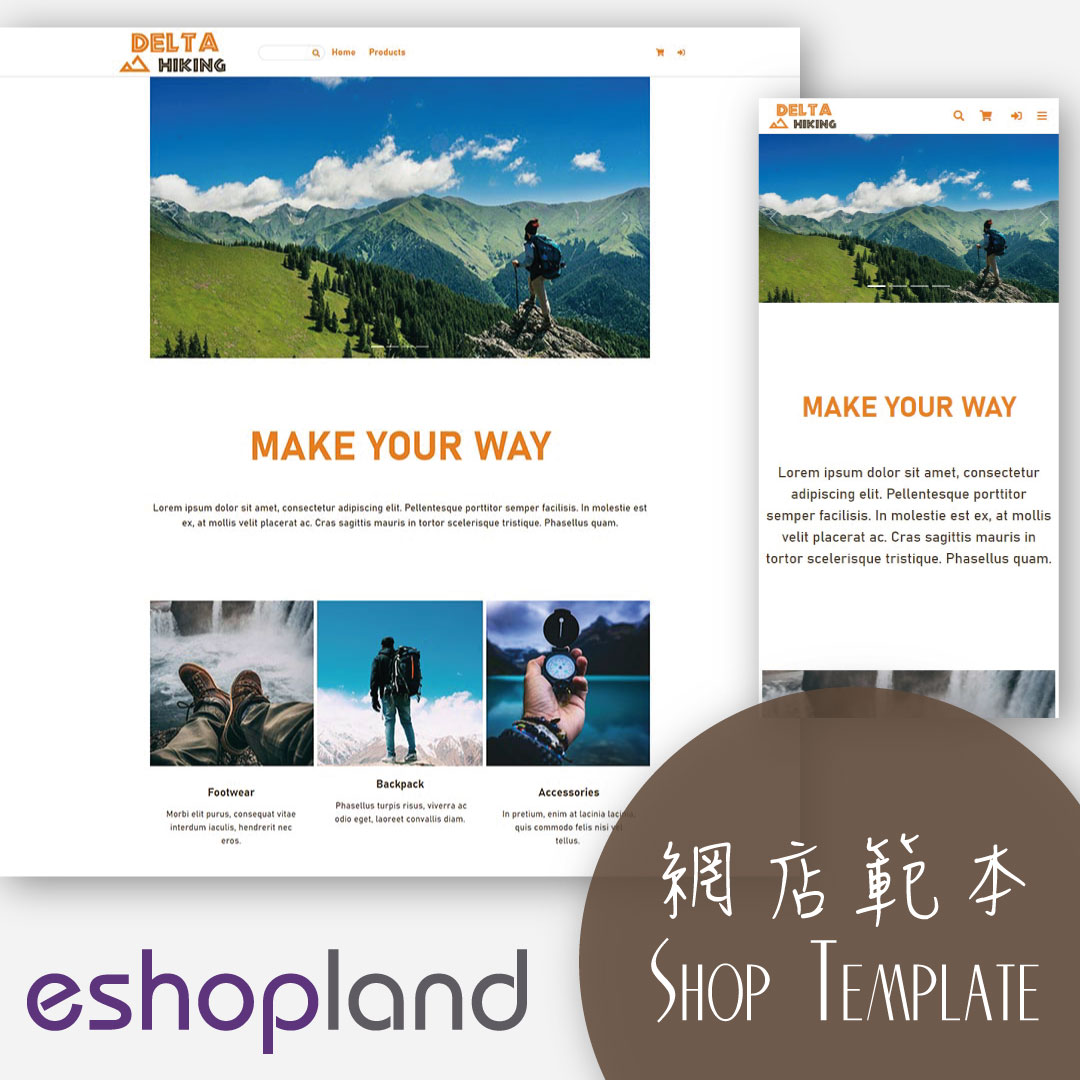
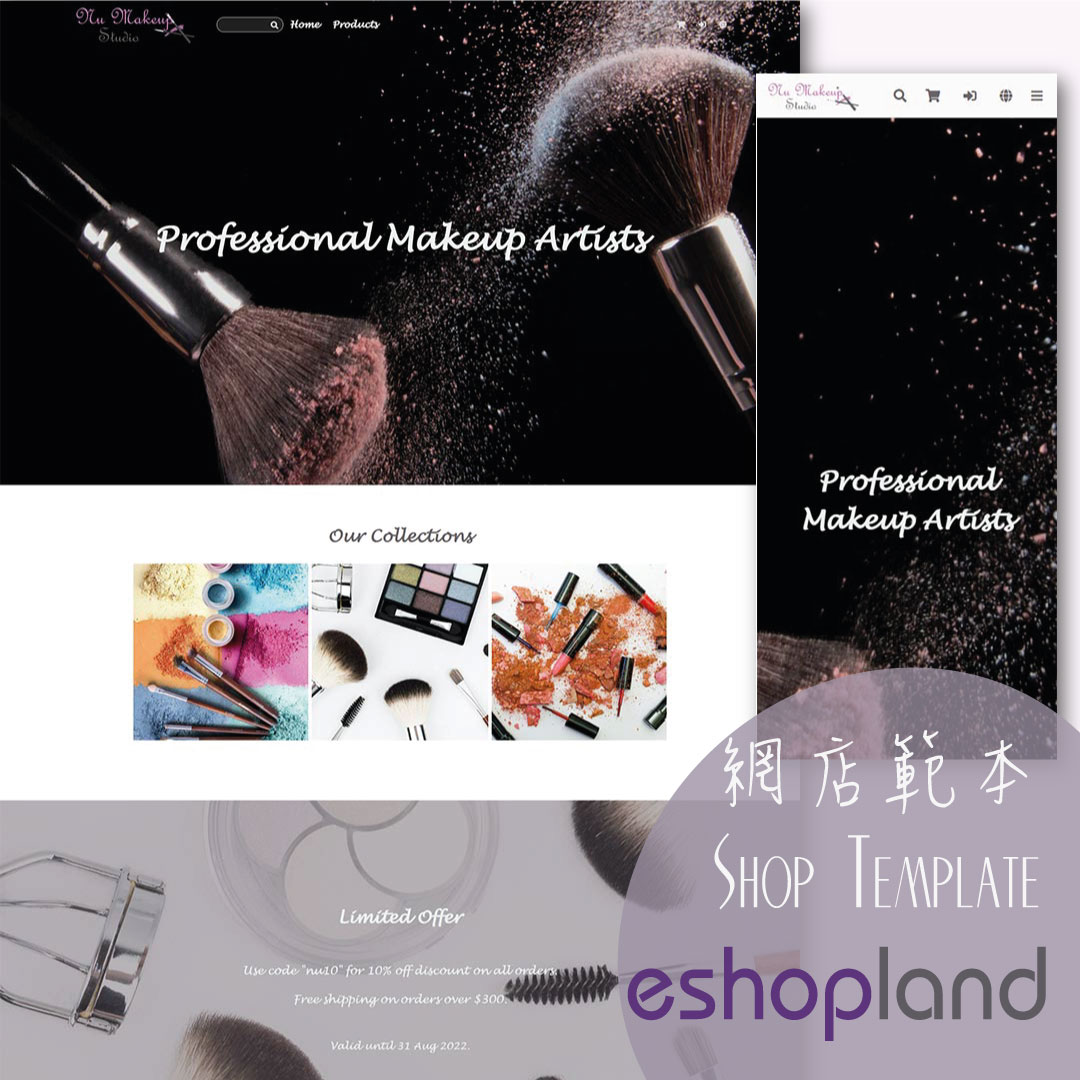
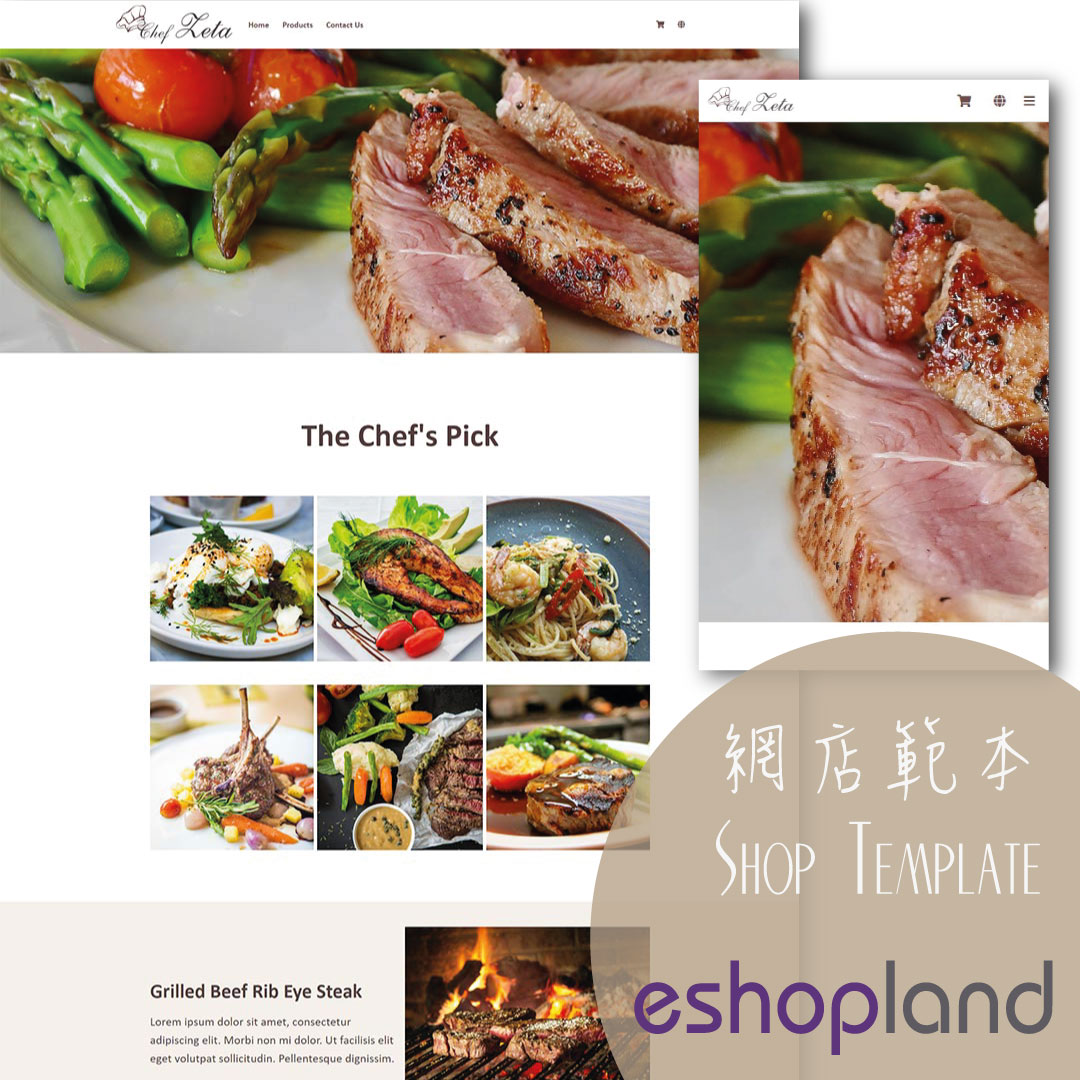
Banner Image
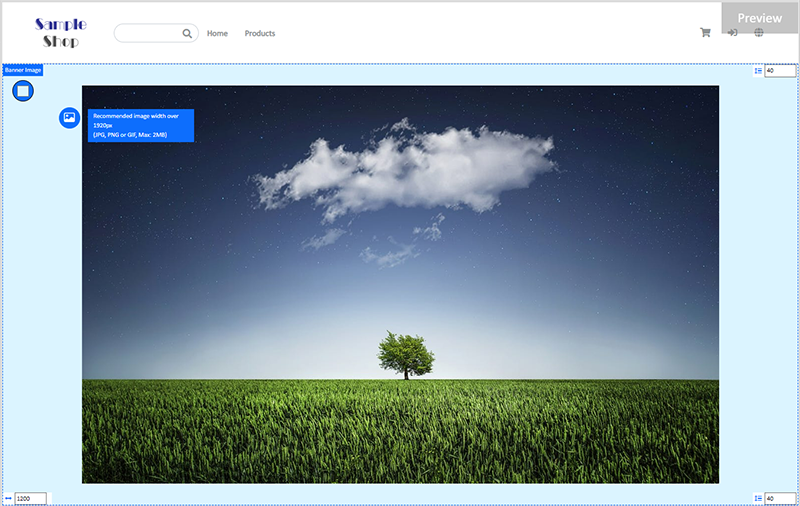
When you design your online shop with eshopland Layout Designer, you can add banner images onto your shop, to attract customers’ attention and build up your shop image.
1. Add a Banner Image module.
Go to Admin Panel > Design > Pages.
Select or add a page and enter the Layout Designer.
Press Add  to add a Banner Image module.

2. Manage the Module.
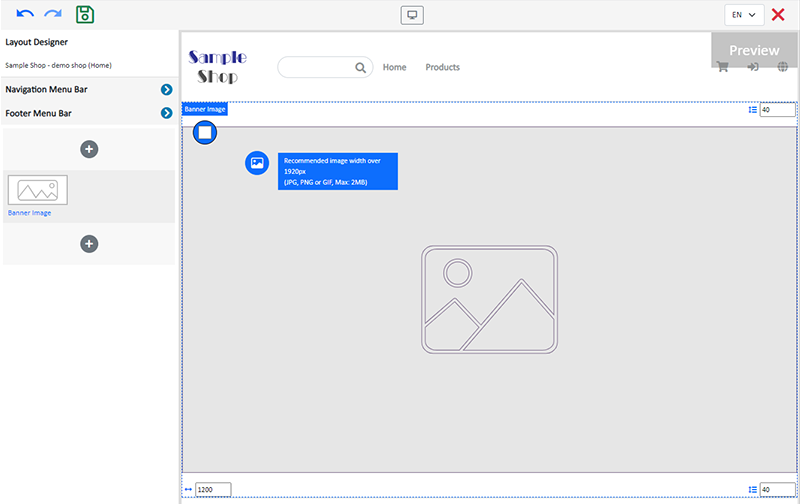
You can manage the following settings of the Banner Image module:
Width
Interval
Background Color
Link
Visibility
For more details about managing the modules, you can visit the Manage Modules tutorial.
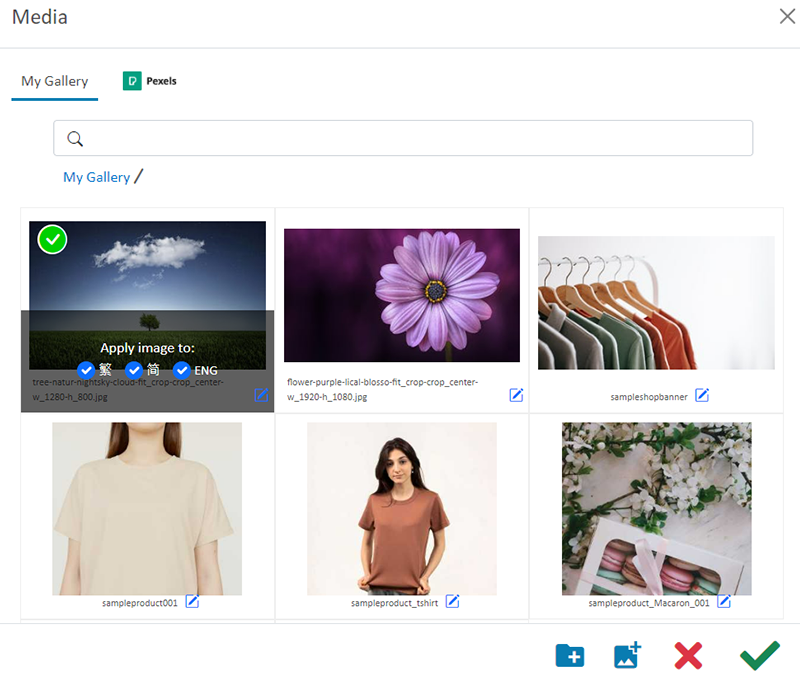
3. Add an image.
Click Image  to choose an image in the Media Gallery.
Select an image and check to apply image to the specific language pages, then Confirm  .
.
You can set different images for the Banner Image module on different language pages.
When an image is added, the thumbnail of the image will appear on the left tools bar.
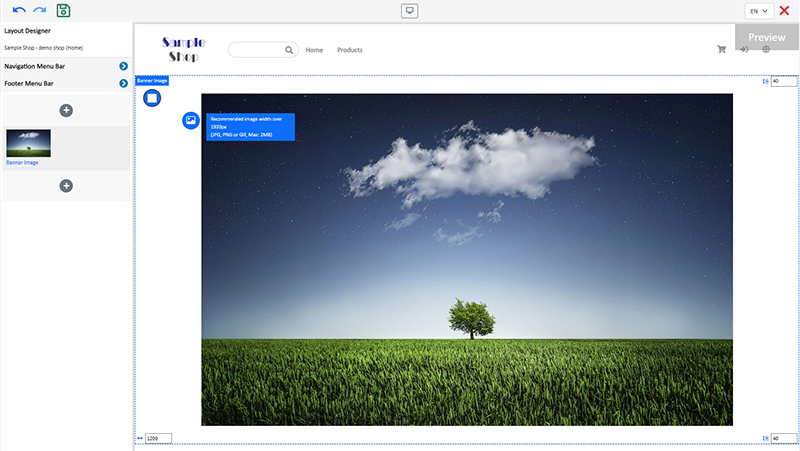
The system will auto-resize the image proportionally according to the module width. The banner image will not be cropped.
4. Save  the changes.
Popular Articles


You May Also Like
Duplicate a Product
Use the “duplicate a product” feature on the admin panel, you can save time when adding a similar product to your online shop1. Go to the Product List.Go to Admin Panel > Products > All Products.2. ... [read more]
Advanced Footer Design
To enhance the design flexibility for merchants to personalize the shop webpages, eshopland Layout Designer has added advanced footer design elements. Merchants can customize the footer style to mat... [read more]
Order Editing
Designated service plan users would be able to edit unshipped orders on eshopland admin panel, such as to add or edit products or quantities, change offers or add new discounts. We offer you a highe... [read more]
Product Description
Write detailed description for your products can effectively attract customers’ awareness and increase sales. On eshopland, you can enter text description content and design the layout by using the ... [read more]