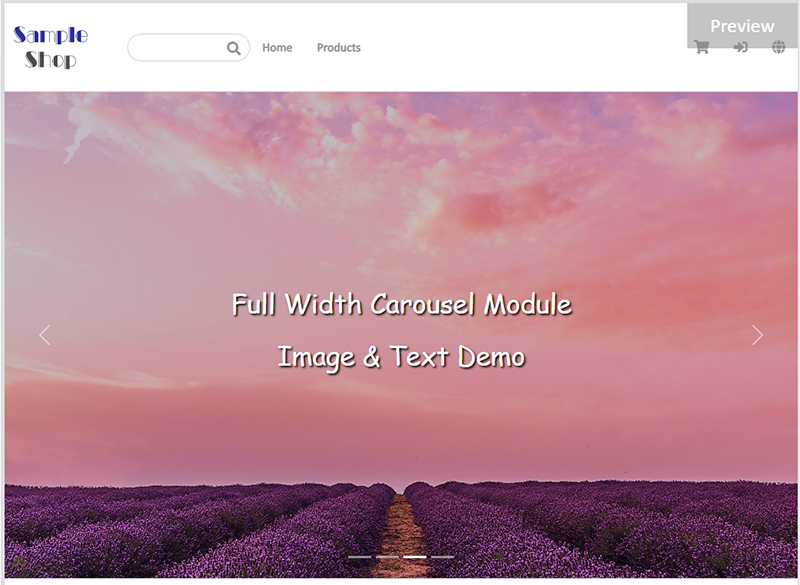
Full Width Carousel
On eshopland, you can add full width carousel (slider) onto your online shop webpage to enhance shop and product marketing effects, attract customers’ attention and boost your online shop sales.
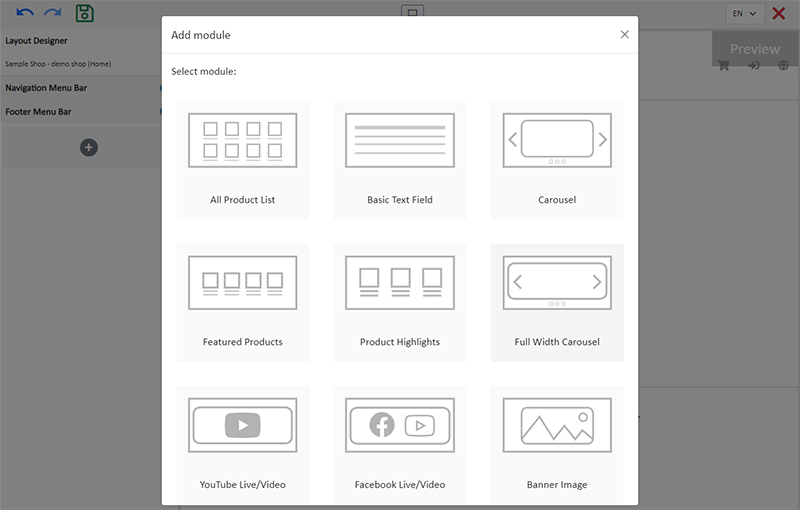
1. Add a Full Width Carousel module.
Go to Admin Panel > Design > Pages.
Select or add a page and enter the Layout Designer.
Press Add  to add a Full Width Carousel module.
2. Manage the Module.

You can manage the following settings of the Full Width Carousel module:
Height Ratio
Interval
Visibility
For more details about managing the modules, you can visit the Manage Modules tutorial.
3. Adding images.
You can add up to 4 images onto the Full Width Carousel module.
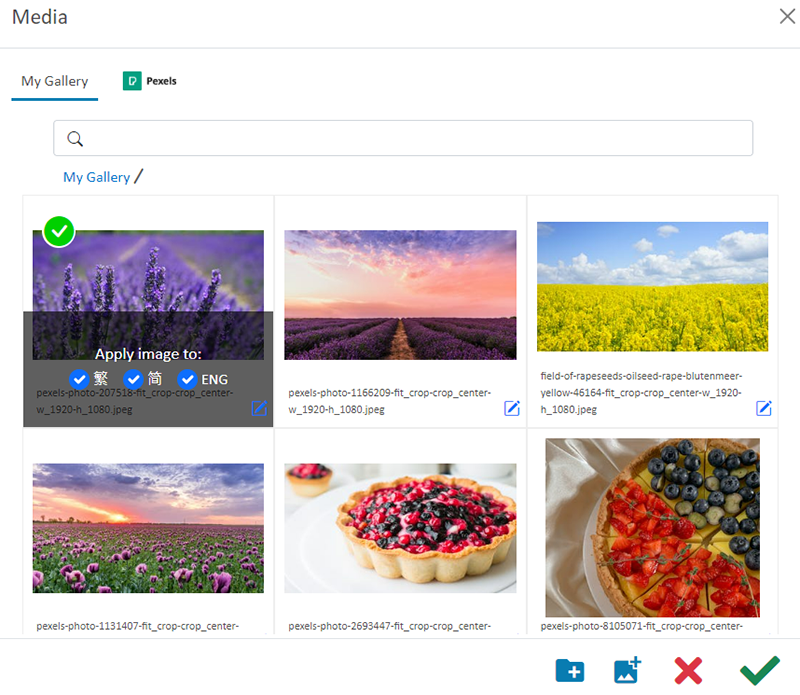
Select from Image 1 – 4, then click Image  to choose an image in the Media Gallery.
Select an image, check to apply image to the specific language pages and Confirm  .
.
You can set different images for the Full Width Carousel module on different language pages.
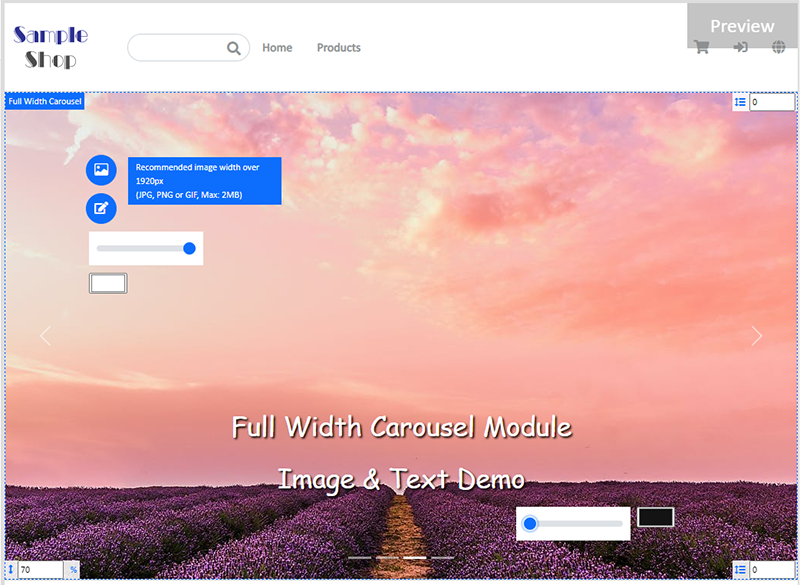
When the images are added onto the module, the thumbnails will appear on the left tools bar.
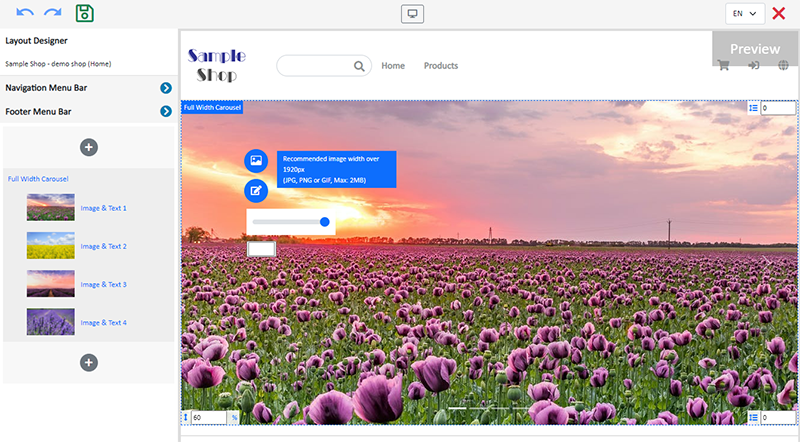
Adjust the screen height ratio (%), the system will auto crop the images according to the setting.
To project better visual effects, all images to be used in the same carousel module should be the same size in pixels (px).
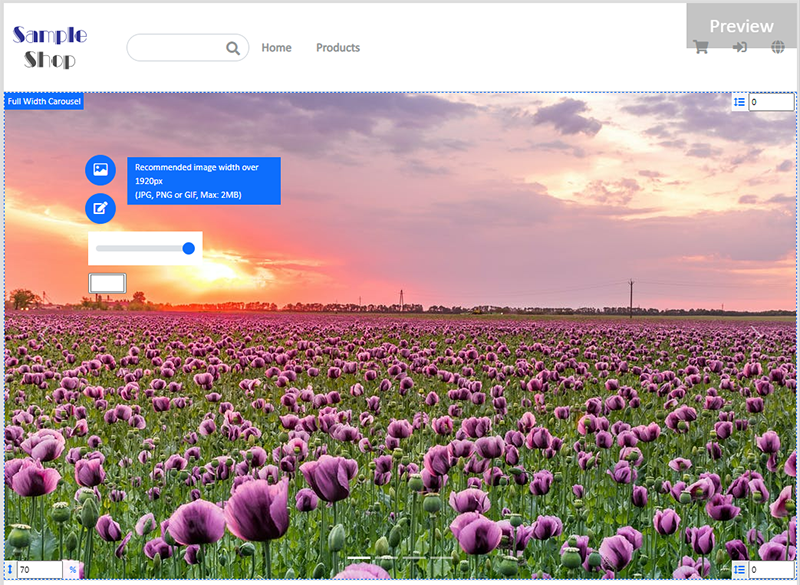
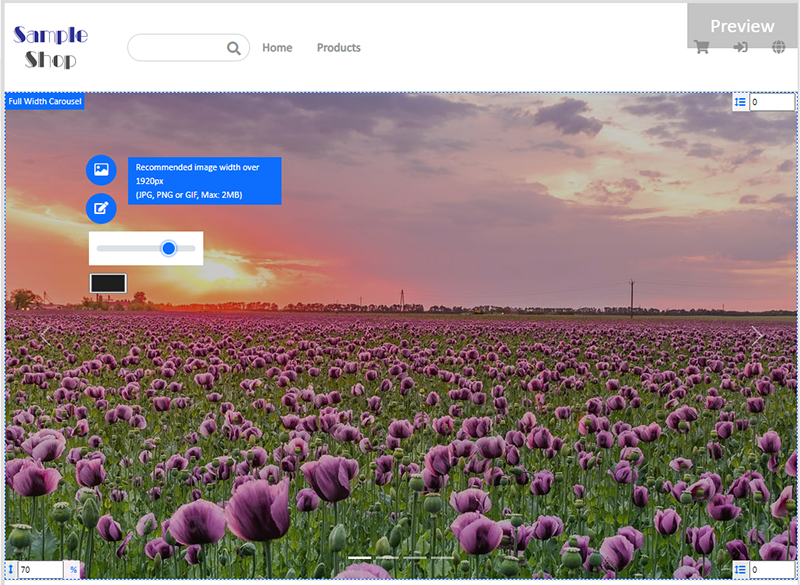
4. Setting Image Color Overlay.
Click the Color Box to select an Image Color Overlay.
Move the adjustment bar to set the Opacity of the color overlaying the image.
5. Setting individual images.
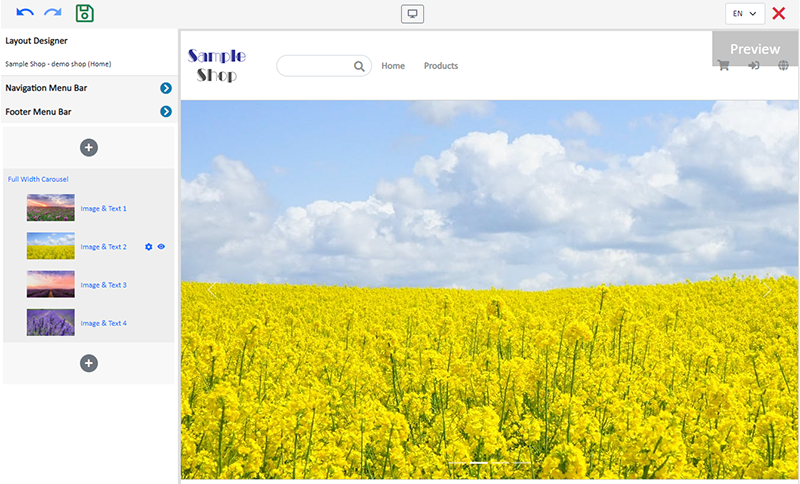
Visibility
Choose an image on the module and click on Visible Status  of the module on the left tools bar.
You can set a specific image to be visible or hidden on different language pages.
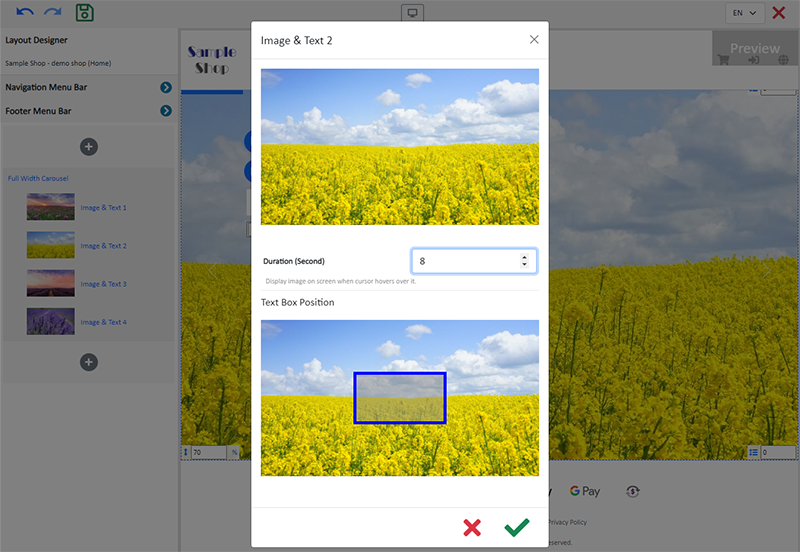
Text Box Position
The system has divided the image into 9 grids based on “left-center-right” and “top-center-bottom”. You can customize the position of the text box.
The default position is bottom-center.
Duration
Choose an image on the module and click on Settings  of the module on the left tools bar.
You can set the duration for each carousel image.
The default duration of the carousel image is 8 seconds.
6. Image Text Field.
Adding text.
Click Edit  to enter the Image Text Field.
The text field has the same features as the Advanced Text Field.
Optional.
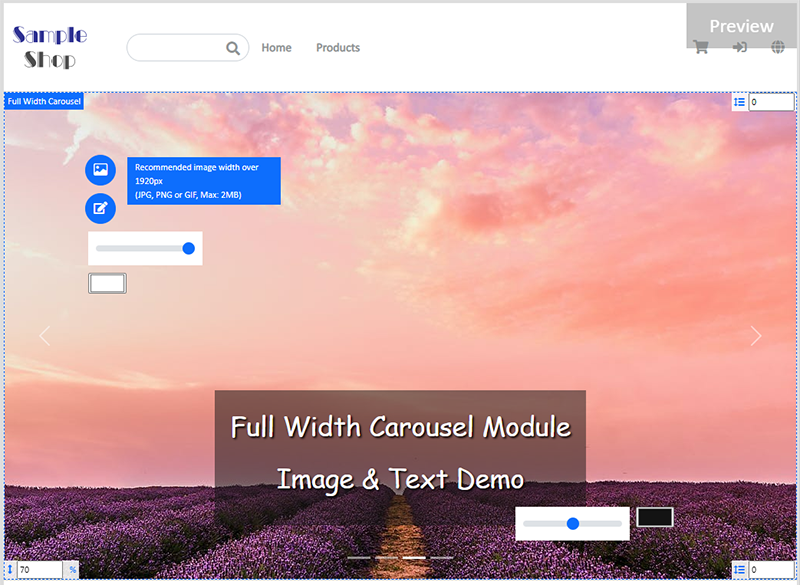
Text Box Background Color
When you write content into the text box, the background color will be auto applied by default.
Click the Color Box next to the Text Box to change the text background color.
Move the adjustment bar to set the Opacity of the background color.
You can adjust the Text Box Position and apply Image Color Overlay to achieve better visual effects.
7. Save  the changes.
Popular Articles


You May Also Like
Duplicate a Product
Use the “duplicate a product” feature on the admin panel, you can save time when adding a similar product to your online shop1. Go to the Product List.Go to Admin Panel > Products > All Products.2. ... [read more]
All Categories & Products
When you design your shop webpages, adding All Categories & Products module onto the homepage of your online shop, allow your customers to browse all your categories and products on the page more d... [read more]
Hongkong Post EC-GET Order Management
Merchants can automatically generate Hongkong Post EC-GET address labels on eshopland system backend. They can print the labels and post directly without paying any additional service fees or instal... [read more]
Tiered Membership Scheme Overview
On eshopland ecommerce platform, merchants can customize the terms of the membership scheme of their online shops, not only to attract new customers but also encourage member customers to keep spend... [read more]