Add Categories onto Navigation Bar
Adding product categories or subcategories to the navigation bar on your online shop can make it easier for your customers to find suitable products, enhancing their browsing and shopping experience. You can flexibly add individual categories or subcategories onto the navigation bar, or add all product categories and subcategories by one simple step.
You are required for set categories or sub-categories in advanced. Please visit Product Categories for more details.
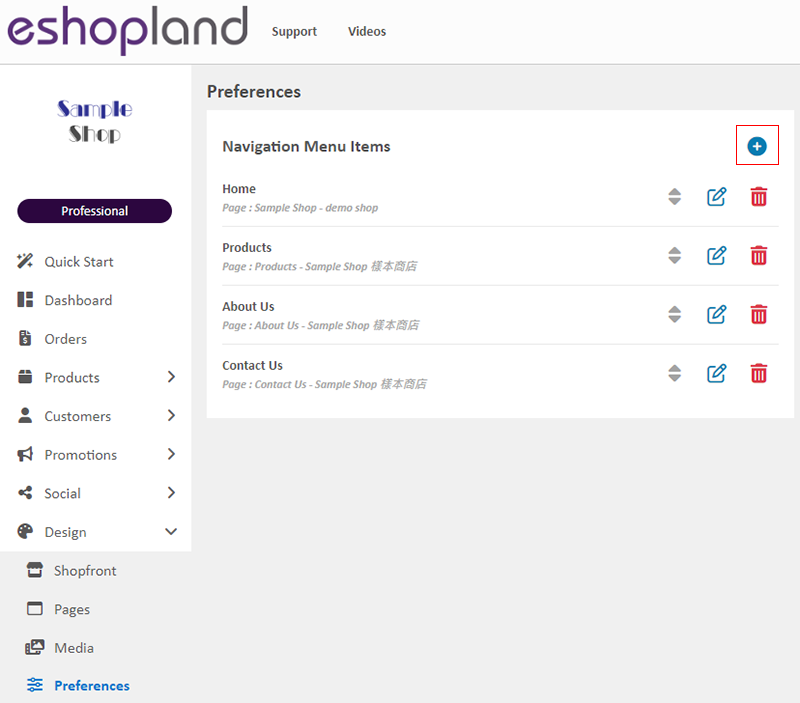
1. Add a Menu Item on the Navigation Bar
Go to Admin Panel > Design > Preferences,
Add  an item on Navigation Menu Items.
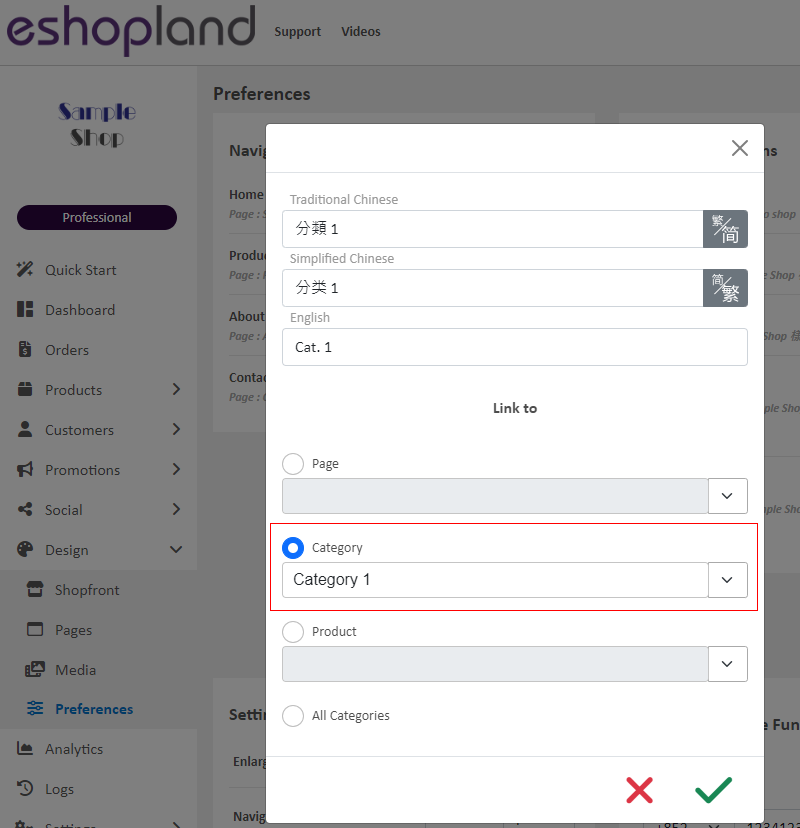
2. Add a Single Category onto the Navigation Bar
Set the “Category” Item Name to be displayed on the Navigation Bar.
Item Name is mandatory, you can set it as “Category”, “Tops”, “Handbags”, “Toys”, etc.
You can add individual categories or sub-categories onto the navigation bar.

Link the Menu Item to the specific category.
Save  the settings.
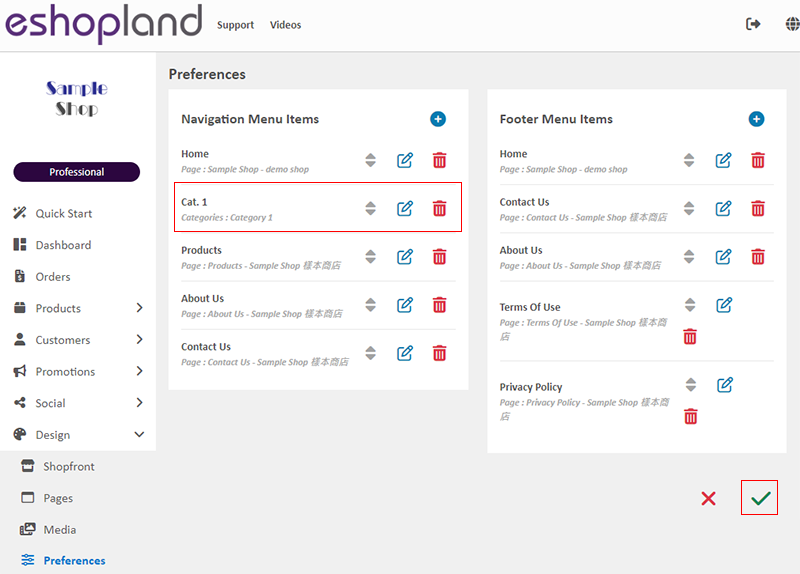
A new Menu Item named “Category” has been added onto the Navigation Menu.
You can adjust the Sequence  of the items manually.
Confirm  and apply the changes.
A “Category” menu option has been successfully added onto the navigation bar of the online shop.

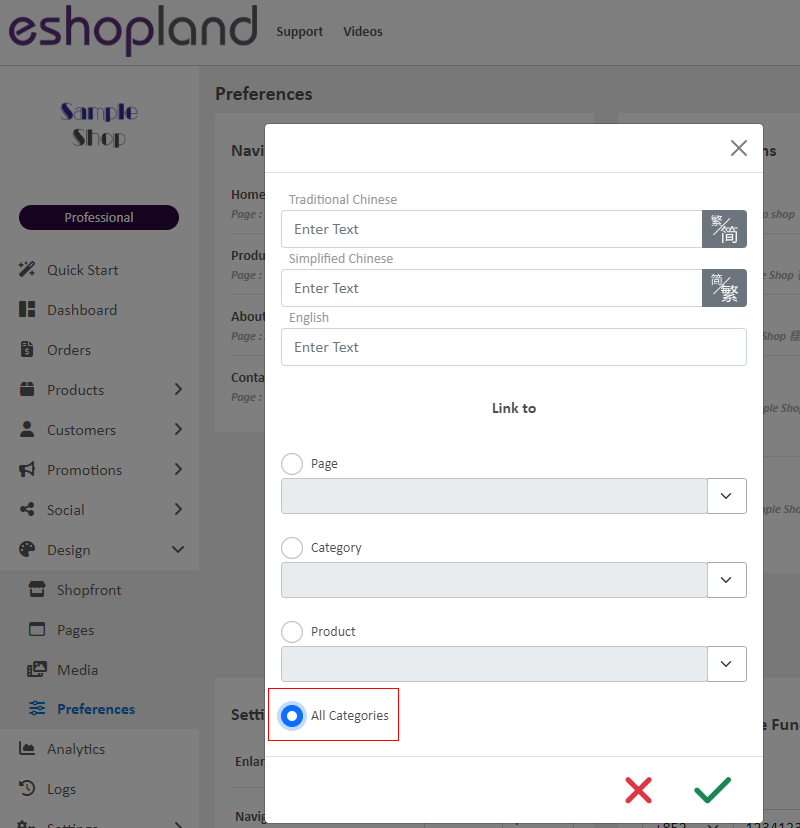
3. Add “All Categories” onto the Navigation Bar
Select “All Categories” and Save  the settings.
“All Categories” have been added onto the Navigation Bar.
You can adjust the Sequence of the items manually.
Confirm  and apply the changes.

“All Categories” have been added onto the Navigation Bar.
You are recommended to go to Admin Panel > Design > Preferences > Settings, and “Disable” the Mobile Menu 'Categories' Shortcut, to prevent the duplication of product categories on the mobile menu.
For more details on how to set up the Mobile Menu 'Categories' Shortcut, please refer to Mobile Menu Settings.
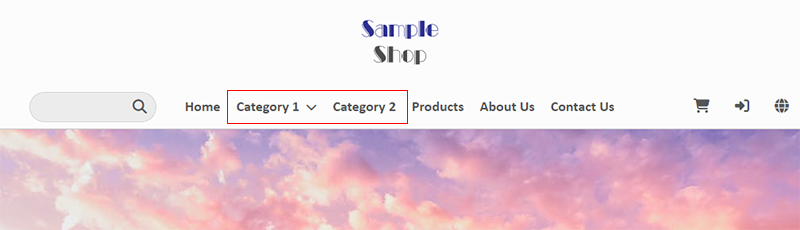
You can view the sub-categories (if any) within the category hierarchy on the navigation bar.

Popular Articles


You May Also Like
Full Width Image & Text
On eshopland Layout Designer, you can add Full Width Image & Text modules onto your online shop webpages to enhance the visual effects and attract customers’ concentration, improve marketing result... [read more]
Page Settings
eshopland platform allows you to specify the page settings your shop webpages, effectively improve the on-page SEO (search engine optimization) and make customers to search your shop on the search e... [read more]
Product Variants
Merchants using eshopland ecommerce platform can customize the variants and specifications of their products, such as setting the colors, sizes, weights, etc. Additionally, merchants can set individ... [read more]
Product List Colors & Style
The multifunctional web design tools of eshopland ecommerce platform support customizing colors for of the product list, such as the background color of the product list, product display background ... [read more]