Add & Manage Images in Media Gallery
Web Design・Design Photos・Product Images
Merchants can utilize the multifunctional media gallery on eshopland online shop platform to add product images, design picture and media files. You can create different folders in the media gallery to categorize and store various images, making them easier to be searched and managed in the future.
1. Enter the Media Gallery
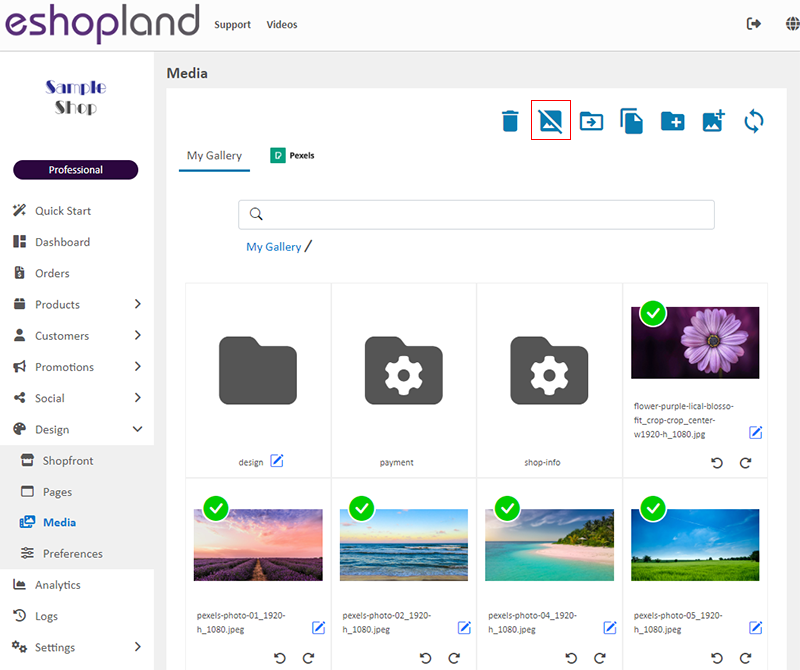
Go to Admin Panel > Design > Media.
Images which are not added to any folder will be automatically stored in “My Gallery”.

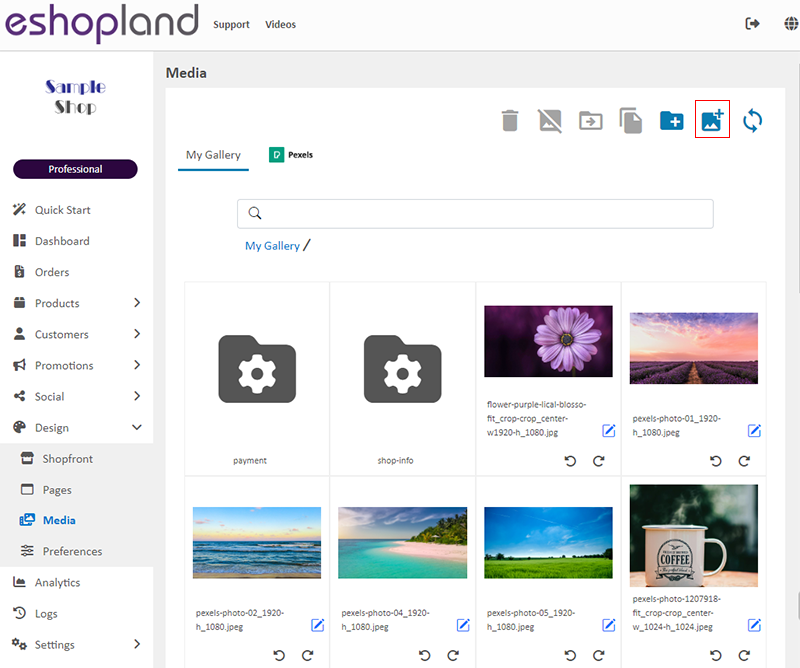
2. Add Images
In the Media Gallery, click on Add Image  ,
,
you can then select images or media files (including JPG, PNG and GIF formats) from your phone, mobile devices or computers. These media files can be added directly to the media gallery or to a specific folder within the gallery.
3. Add Pexels Free Stock Images
eshopland online shop platform is integrated with the free stock photo gallery website Pexels, allowing merchants to search for Pexel’s free stock images through the media gallery, add them to library and use them as product images or for online shop design.
Click here to learn how to add Pexels free stock images to the “Media Gallery”.

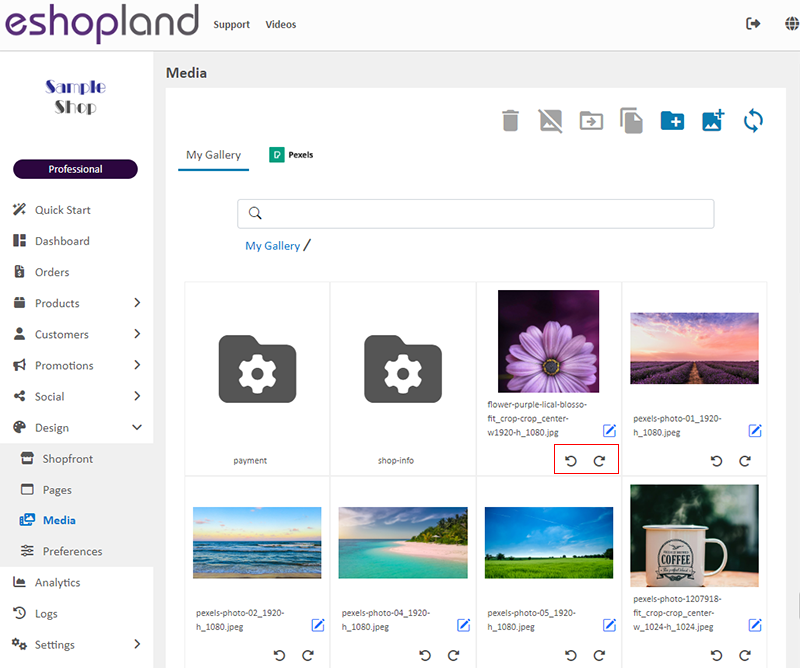
4. Rotate Images
Click the Rotate Left  or Rotate Right
  icon below the image to instantly rotate the image 90 degrees to the left or right.
After rotating the image, it will be immediately updated and synchronized to all locations where the image is applied, including product pages and web design.
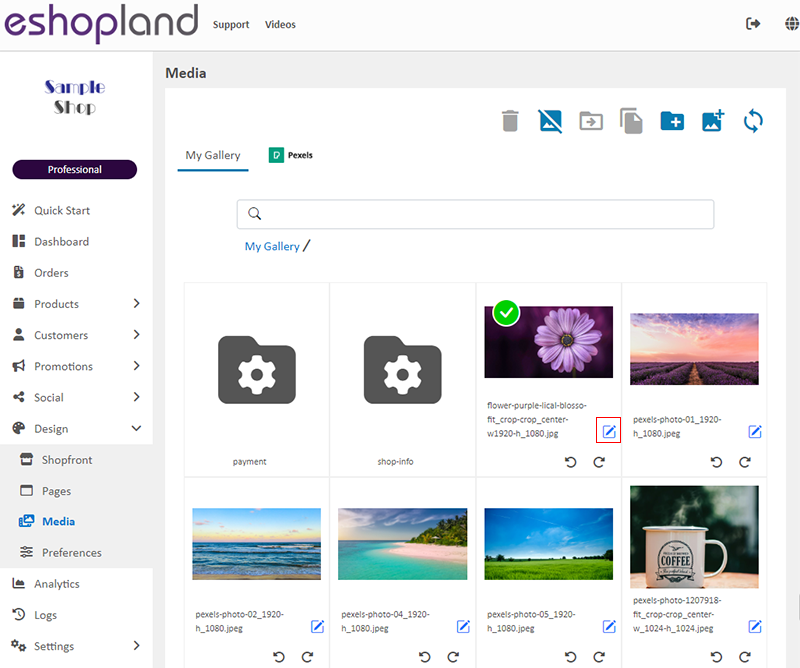
5. Manage Image Names
Select an image and click on the Edit  icon to change the image name.
Merchants can customize the names of images in the media gallery.
The media gallery supports searching for images by name.
Adding names related to the online shop and products to the images will help improve the shop’s SEO (Search Engine Optimization).
If you anticipate adding a large number of images to your eshop, it is recommended to include a date or number label in the image name before applying the image, or to add the image into a folder with a date label, to facilitate future search and management of the images.
To avoid affecting the normal display of related images on the shop’s webpage, it is recommended to complete the naming of images before applying them.
You can also reapply the updated named media images to the relevant positions on the webpages.

After updating the image name, make sure to Save  it.
it.
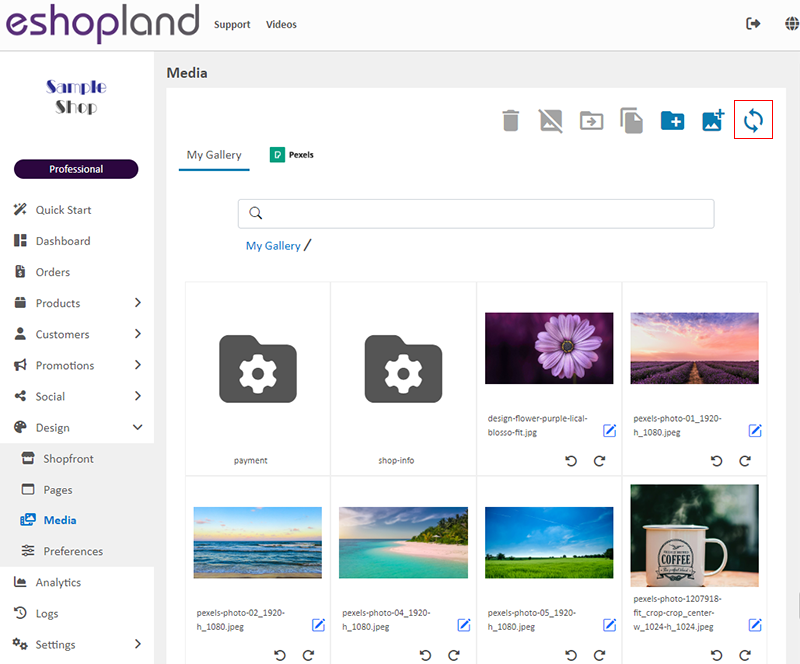
6. Refresh
When you add new images, they will appear at the front.
After changing the image names, click Refresh  and all images and media files will automatically be sorted in alphabetical order.
7. Bulk Operations
You can select multiple images at once to perform bulk copy, move or delete actions.
Click on Deselect 
to unselect all images.
Popular Articles


You May Also Like
Order Payment Receipt
eshopland platform supports various manual payment methods, such as bank transfer, Alipay HK, PayMe, FPS and other e-wallets, etc. Customers can upload the payment receipt for merchant’s verificatio... [read more]
Express Checkout Link
The designated eshopland service plan users can utilize the Express Checkout Link feature to pre-add specific products to the shopping cart and generate a checkout link. Merchants can share the chec... [read more]
Promotion Settings
Merchants can set different discounts and promotions on eshopland ecommerce platform (such as free shipping, order discounts, fixed amount discounts, specific product discounts, free gifts, etc.), a... [read more]
Product List Colors & Style
The multifunctional web design tools of eshopland ecommerce platform support customizing colors for of the product list, such as the background color of the product list, product display background ... [read more]