Product Media (Image & Video)
Adding images and videos to the product pages, let customers know more about your products in detail.
Below are the steps and notes on how to upload or change the product media (images and videos).
1. Adding Product Media
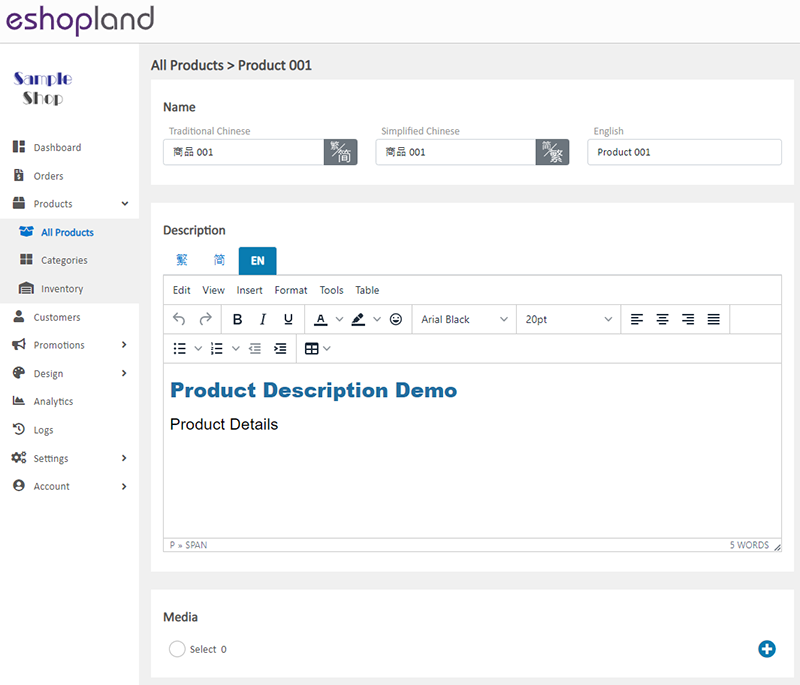
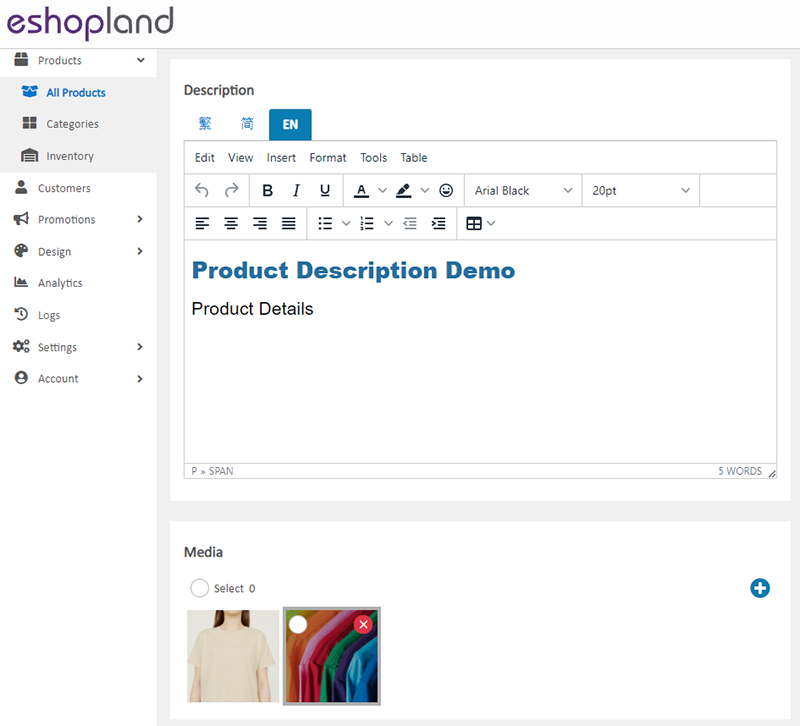
Login and go to the Admin Panel > Products > All Products, enter the Product Content Page > Media.
You can add images and videos to your products.
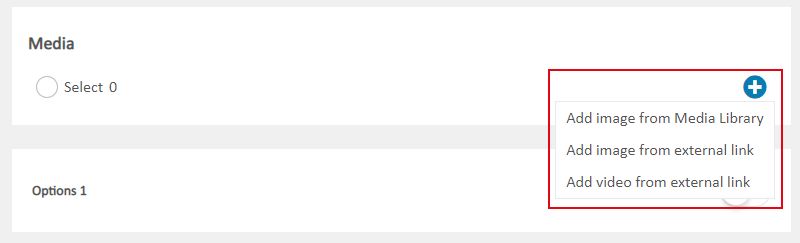
Select the method to add media:
Add image from Media Library
Add image from external link
Add video from external link
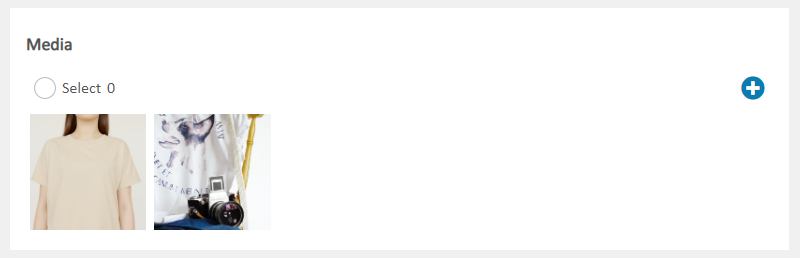
2. Adding Image from Media Library
Press Add Media  in the Media Library.
Select an image from your computer, mobile or other devices, then click Open. The image will be auto uploaded onto the Media Library.
Recommended image ratio: 1:1 (square)
Recommended image size: 800px x 800px
File format: JPG, PNG or GIF
Recommended File size: Not exceed 2MB
Apply the Product Image added from the Media Library
Select the image and press Confirm  to apply the image.

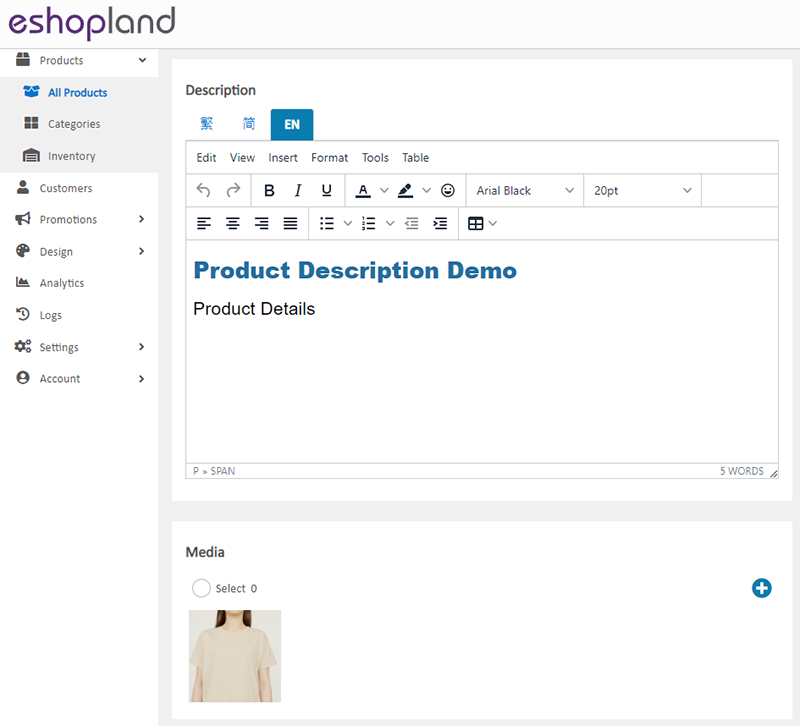
The product image will be displayed on the product content page instantly.
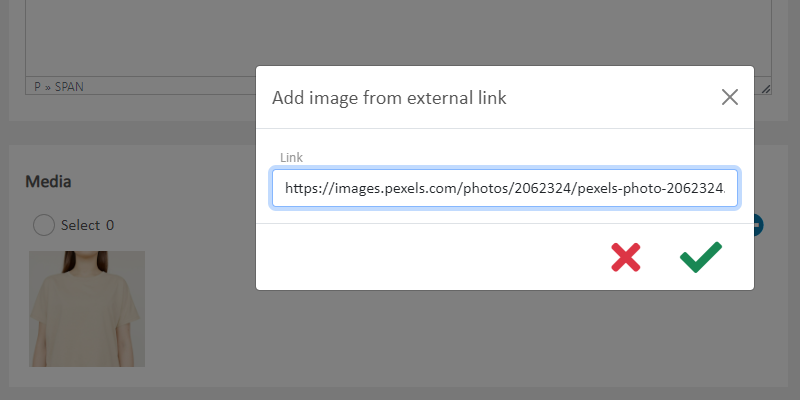
3. Add Image from an External Link
Enter an external link of a product image into the field and Confirm to apply.
The product image will be displayed on the product content page instantly.
Images added from external links may encounter restrictions on access permissions imposed by the image servers, which could result in the images not being displayed properly.
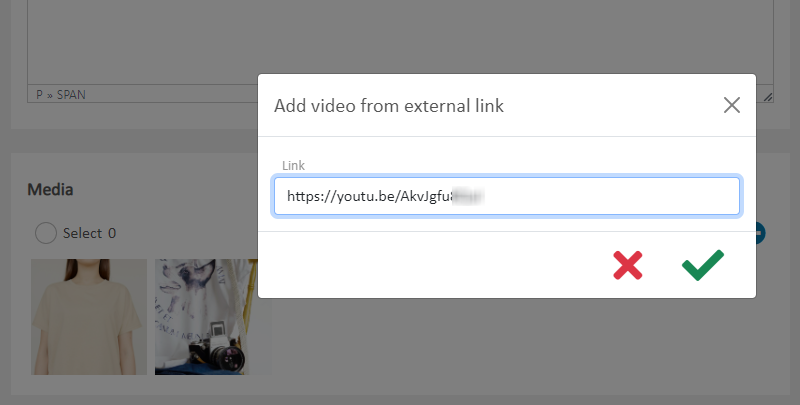
4. Add Video from an External Link
Support YouTube videos only.
Press Share on the YouTube video page,
Copy the YouTube external link of a product video,
Paste the external link,
Confirm to apply.
5. Changing the Product Image Sequence
The Product Image will be listed chronologically according to the upload order by default.
To reorder the Product Media, drag and move the media on the Media block.
6. Apply the Changes
Select to Cancel  or Save the changes.
Popular Articles


You May Also Like
Custom Shipping
eshopland allows you to customize shipping methods, such as pick-up, charge on delivery, local courier, etc. to suit your business operational requirements.1. Shipping SetupLogin and go to the Admi... [read more]
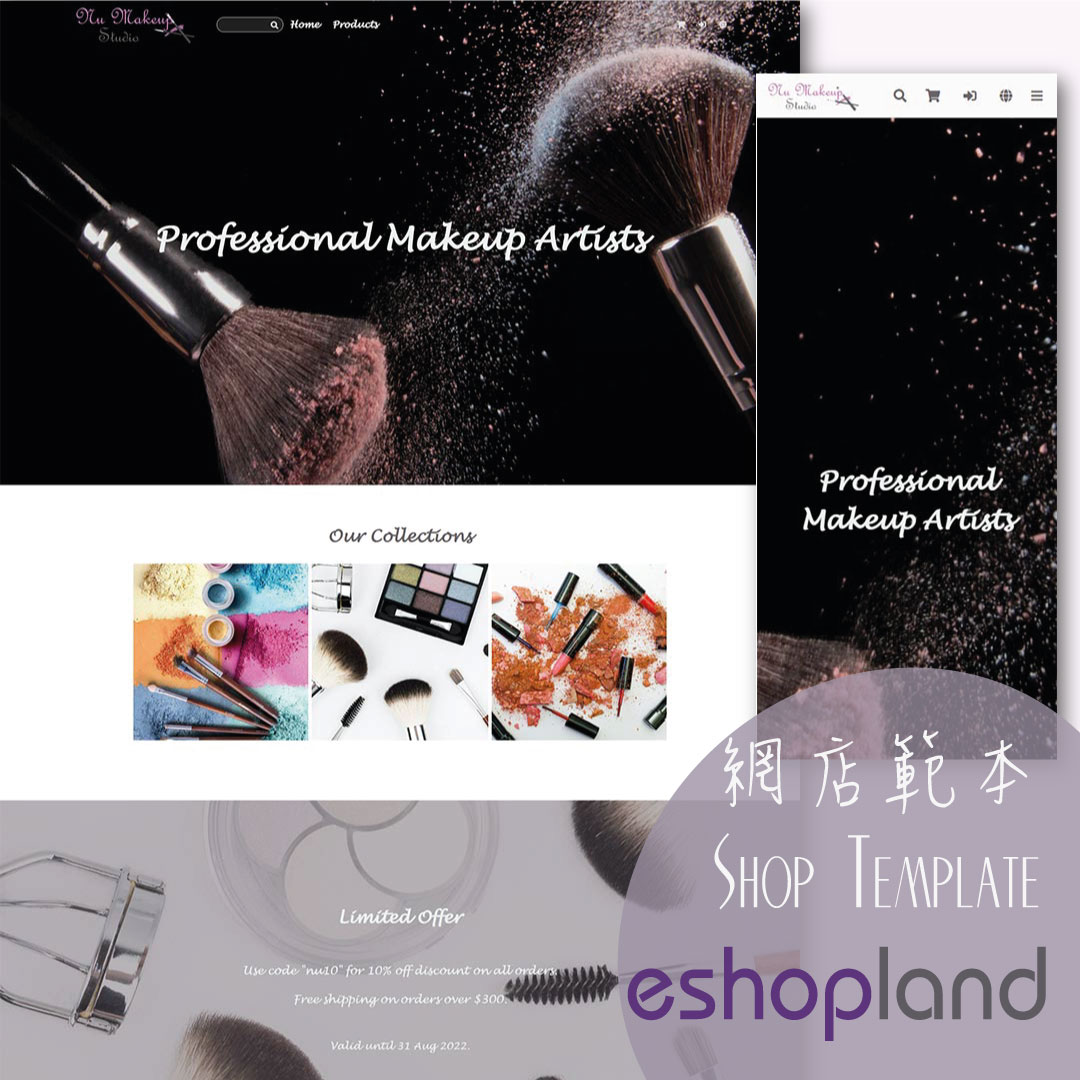
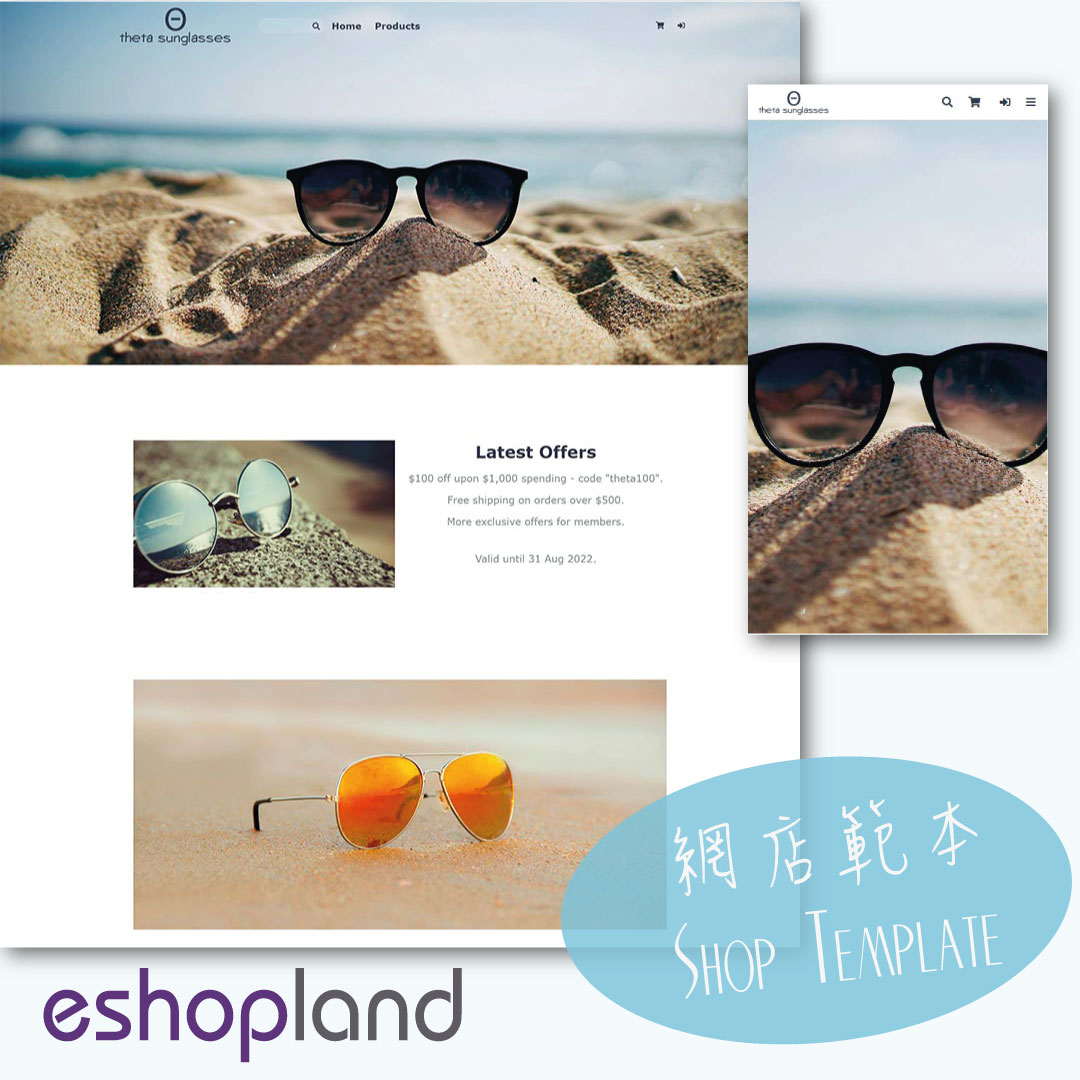
Single Product Page Style
eshopland e-commerce platform offers powerful webpage design features, enabling merchants to customize the style of their online shop product pages. You can customize the product design style includ... [read more]
Adding New Staff Users
eshopland ecommerce platform supports managing your online shop by multiple users, allows you to expand your business at any time. The shop owner can invite new staff members to become the shopkeep... [read more]
Products In Category
Adding Products In Category module onto the webpage of your online shop, allow your customers to browse the products of a specified category more conveniently.1. Add a Products In Category moduleGo... [read more]