Order Overview
On eshopland admin panel, you can view the order details and manage order details of your online shop. The following is a brief of the order.
1. Enter the Order Content Page
Go to Admin Panel > Orders,
select an Order Number and enter the Order Content Page.
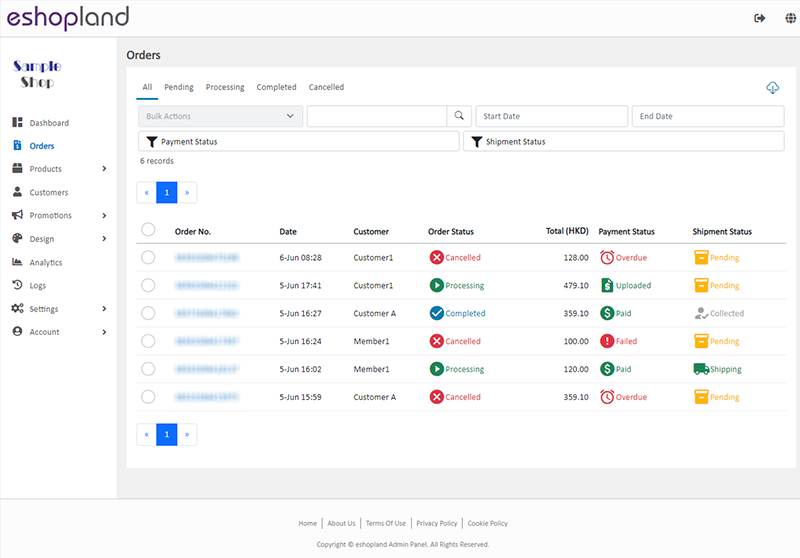
2. Order Overview
You can view and manage the order details on the Order Content Page.
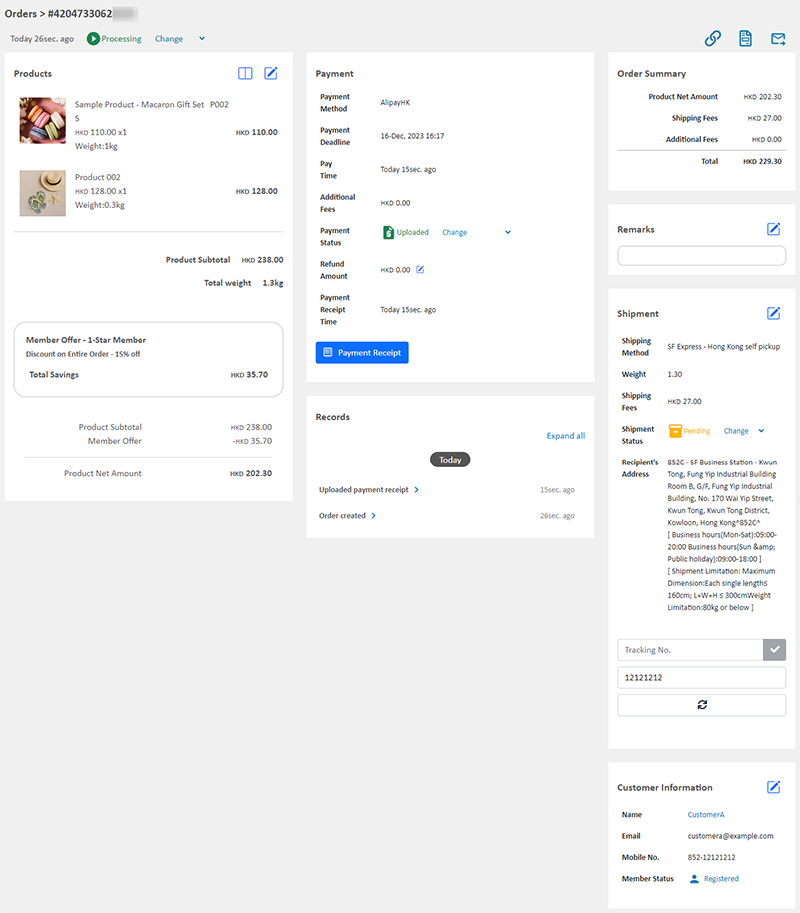
Products
The information, unit price and total amount of the products in the order and the applied offers.
Edit Order and Split Order features are available for specified service plan users.
Payment
The payment details of the customer and the instant payment status.
You can change the payment status manually.
Order Summary
Listing the product subtotal amount and shipping fees respectively.
Auto update by the system.
Remarks
For internal reference only.
Shipment
The shipping details of the customer.
You can update the details manually.
If the customer has selected to use SF Express, you can fill in the Tracking Number and the Waybill Mobile Number then press Refresh  to load the instant shipment status.
Customer Information
The personal information and member status of the customer.
You can update the information manually.
Records
The complete order records.
You can expand to view the identity of the customer and the shop administrators.
Order records cannot be amended.
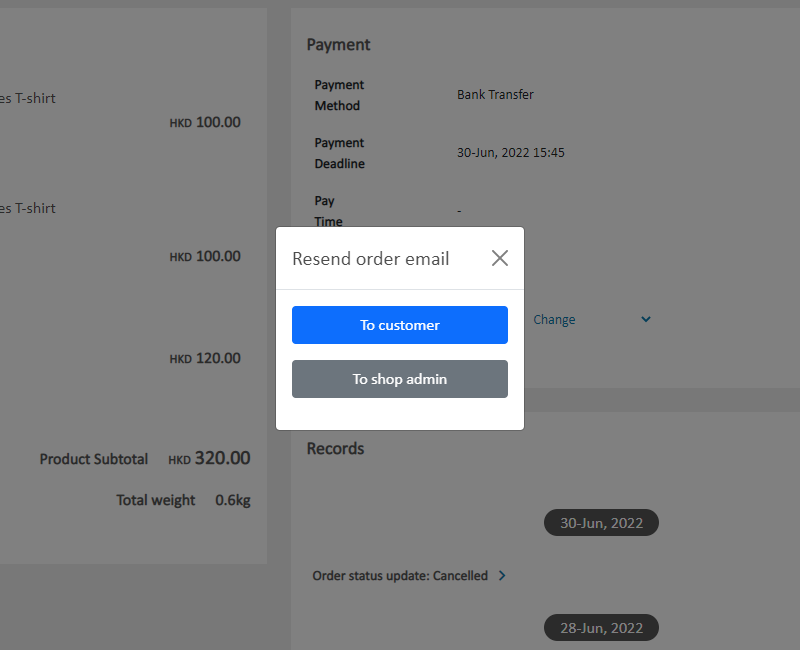
3. Resend Order Email to Customer
When the customer placed an order, the system will send order confirmation email to the customer automatically.
You can also press Send  located at the top right corner of the Order Content Page to resend the latest order record email to the customer or to the shop admin.
4. Order Invoice and Receipt
Merchants can click on Invoice  located at the top right corner of the Order Content Page to view and download order invoice and receipt at any time.
When a customer has made a payment and the payment status of the order has changed to “Paid”, the receipt will be automatically generated.
If the customer has “Uploaded” the payment record, the merchant also needs to change the payment status to “Paid” for the system to generate the order receipt.
Order receipt can only be generated after the customer has made payment.
If merchant is using the mobile App, you can send the PDF file of the invoice or receipt to your current account login email.

5. Order Link
Merchants can click on the Link  located at the top right corner of the Order Content Page to copy the order link for sending to the customer.
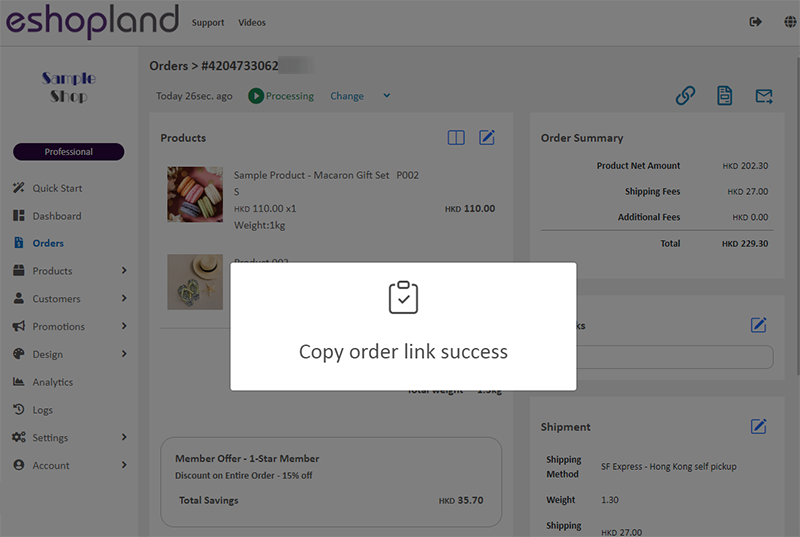
For security reasons, customers must enter the phone number associated with the order to access and view the order.
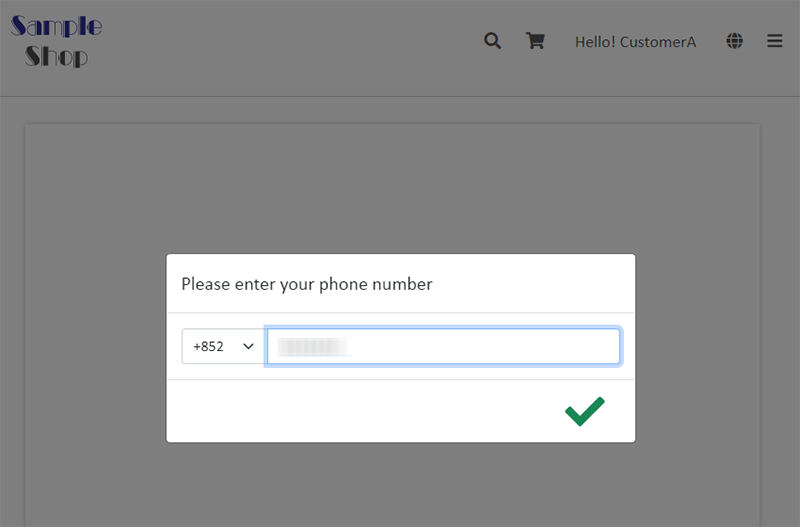
When the customer entered the correct phone number, he/she can access the complete order details, including payment and delivery information.

Popular Articles


You May Also Like
Order Payment Receipt
eshopland platform supports various manual payment methods, such as bank transfer, Alipay HK, PayMe, FPS and other e-wallets, etc. Customers can upload the payment receipt for merchant’s verificatio... [read more]
Connect your GoDaddy Domain
After purchasing a domain on GoDaddy, you can follow the steps below to connect your GoDaddy domain to the eshopland e-commerce platform, to be your online shop's URL.Before operating on GoDaddy por... [read more]
Traditional-Simplified Chinese Conversion
eshopland offers you a handy way to convert Traditional Chinese and Simplified Chinese content in a second. Just press the Traditional-Simplified Chinese Conversion Button to speedy convert and cop... [read more]
Live Stream Auto Order Setup
Merchants who have enabled the “Live Stream Auto Order” feature can easily set up live stream auto order on eshopland online shop backend. This allows you to automatically receive customer orders i... [read more]