Quick Start
Merchant can use the “Quick Start” feature to get started and run your business quickly. Simply follow the steps and enter the basic information to auto generate your “Basic Shop” in a glance. You can always use the Layout Designer to design your shop pages whenever you like.
1. “Quick Start”
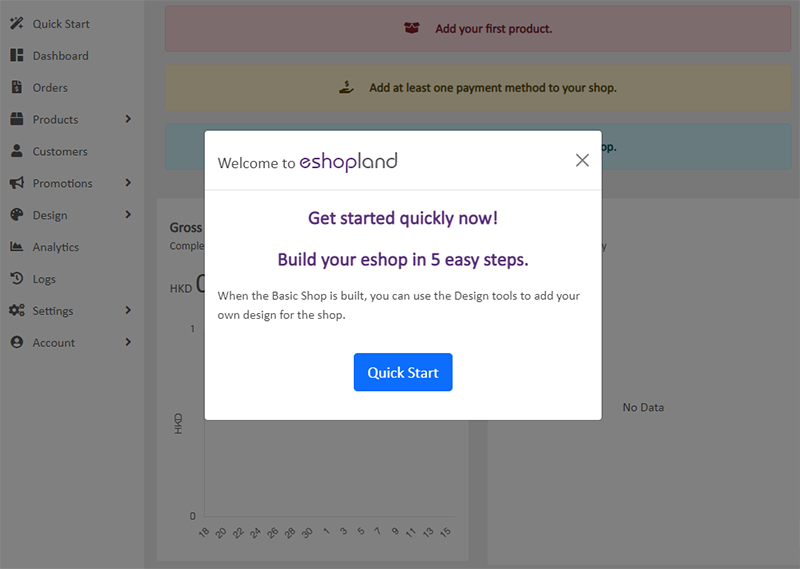
The “Quick Start” feature will auto pop up when new users or users who have not completed the basic setup of the shop signing in the admin panel.
Alternatively, you can always press “Quick Start” to restore your shop design to the system preset “Basic Shop” layout.
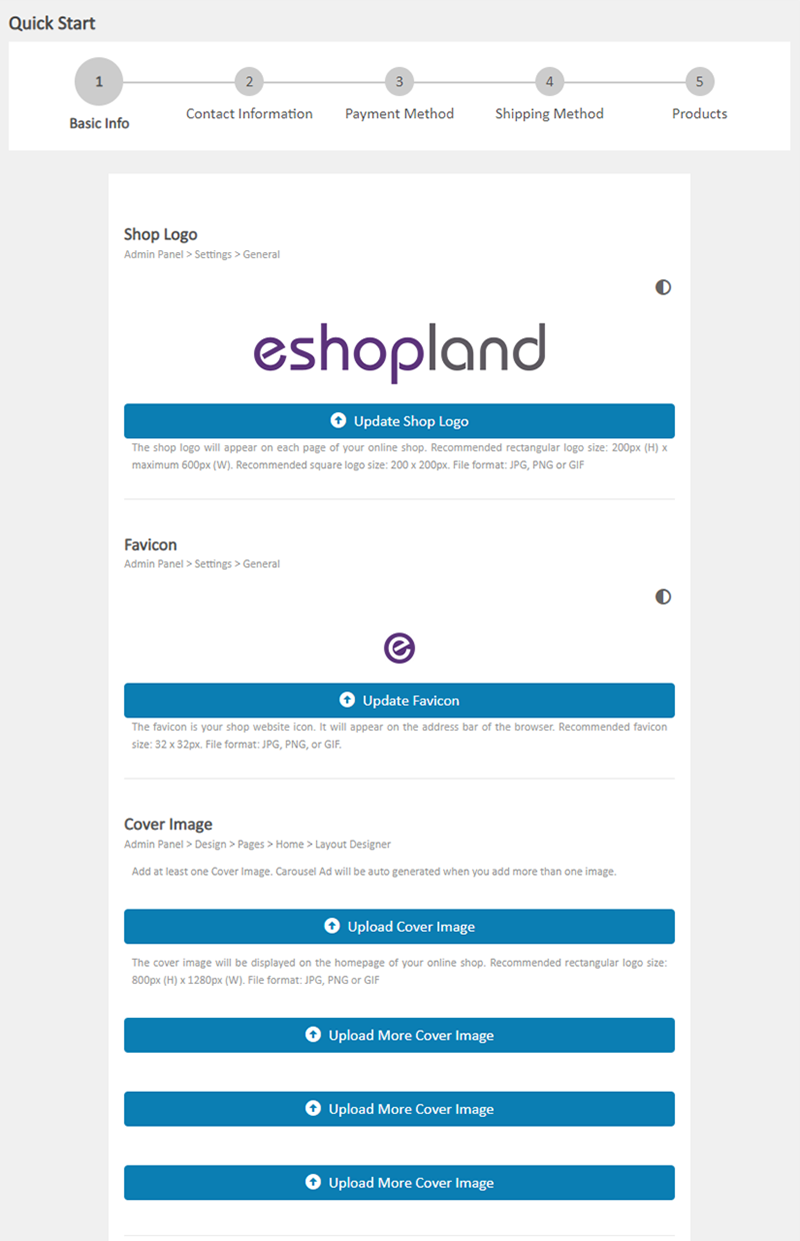
2. Basic Info
Add the following basic info for your shop:
Shop Logo
The shop logo will appear on each page of your online shop.
Recommended rectangular logo size: 200px (H) x maximum 600px (W). Recommended square logo size: 200 x 200px.
File format: JPG, PNG or GIF
Favicon
The favicon is your shop website icon.
It will appear on the address bar of the browser.
Recommended favicon size: 32 x 32px.
File format: JPG, PNG, or GIF
Cover Image
The cover image will be displayed on the homepage of your shop.
Recommended rectangular logo size: 800px (H) x maximum 1280px (W).
File format: JPG, PNG, or GIF
You are recommended to add at least one cover image for your shop.
When you add more than one cover image, a Carousel Ad will be auto generated on your homepage.
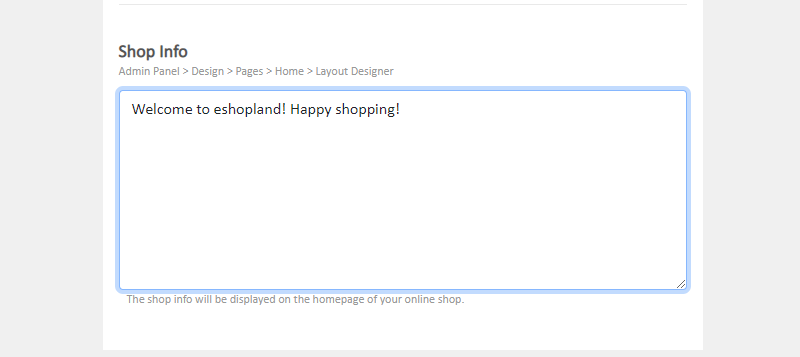
Shop Info
The shop info will be displayed on the homepage of your shop.
You can fill in brief welcoming message or latest promotion and offers in this field.
You can go to Admin Panel > Design > Pages > Home > Layout Designer to edit your shop info text.
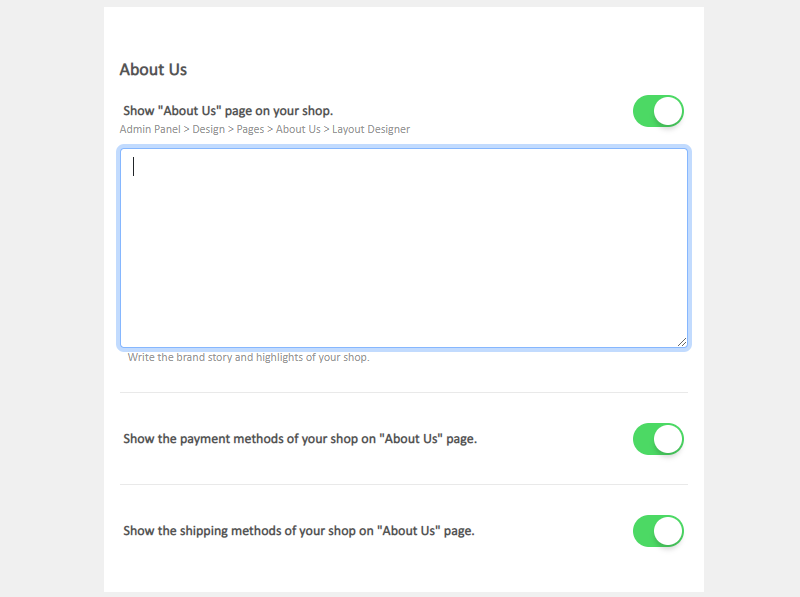
About Us
 Enable “About Us” to auto add the “About Us” page onto your shop.
You can write the brand story and highlights of your shop in this field.
You can go to Admin Panel > Design > Pages > About Us > Layout Designer to edit the “About Us” content.
You can choose to Enable the buttons to show the payment methods and shipping methods of your shop on the “About Us” page.
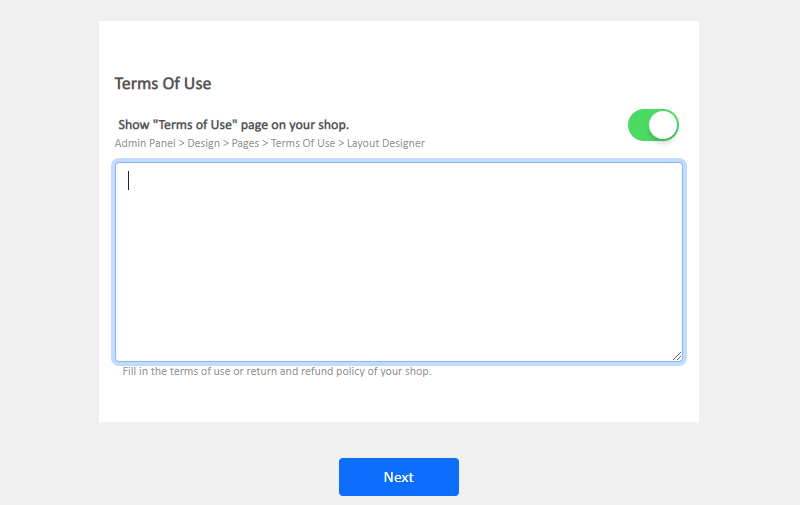
Terms of Use
Enable “Terms of Use” to auto add the “Terms of Use” page onto your shop.
You can fill in the terms of use or return and refund policy of your shop in this field.
You can go to Admin Panel > Design > Pages > About Us > Layout Designer to edit the “Terms of Use” content.
“Next”.
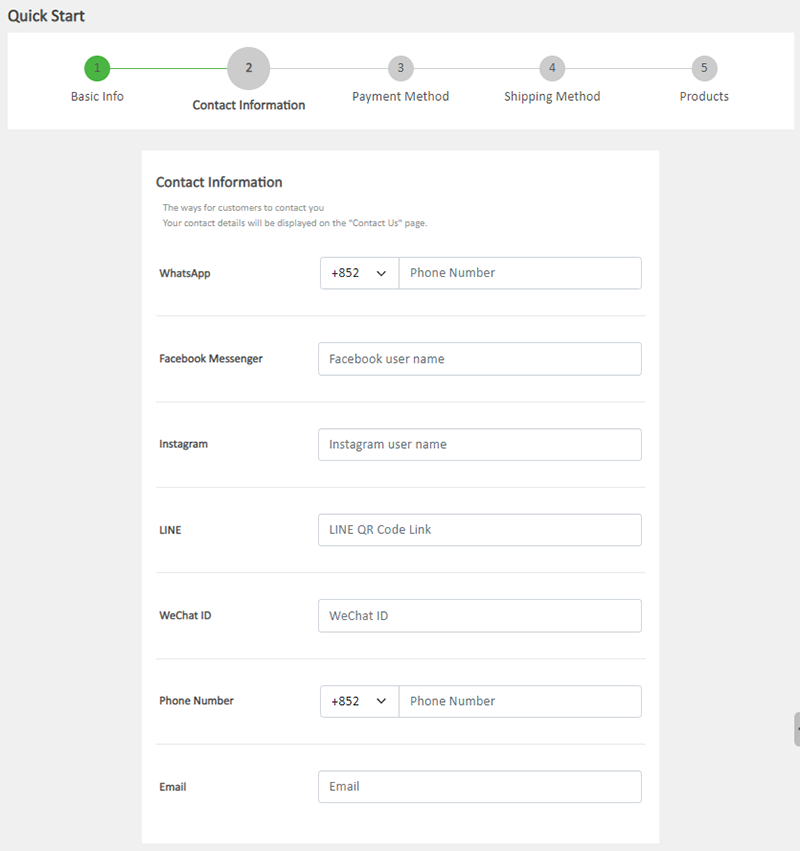
3. Contact Information
The ways for customers to contact you:
Facebook Messenger
LINE
Phone Number
Address
Your contact details will be displayed on the “Contact Us” page.
If the field is blank, the contact method will be not shown.
You can go to Admin Panel > Design > Preferences > Customer Service Function to edit your contact information.
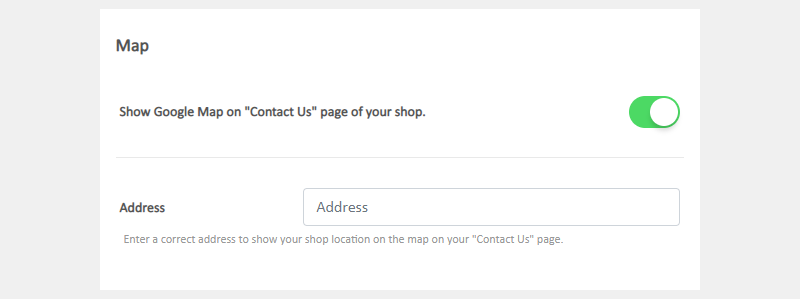
Map
Enable “Map” to add Google map onto your “Contact Us” page.
Enter a correct address to show your shop location on the map.
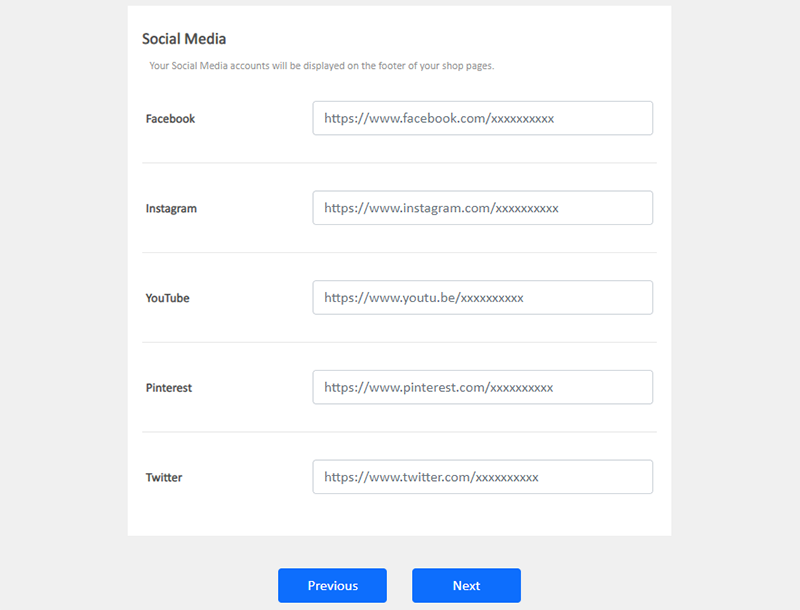
4. Social Media
Enter your social media accounts:
YouTube
Your Social Media accounts will be displayed on footer of your shop pages.
If the field is blank, the Social Media icon will be not shown.
You can go to Admin Panel > Design > Preferences > Social Media to edit your Social Media details.
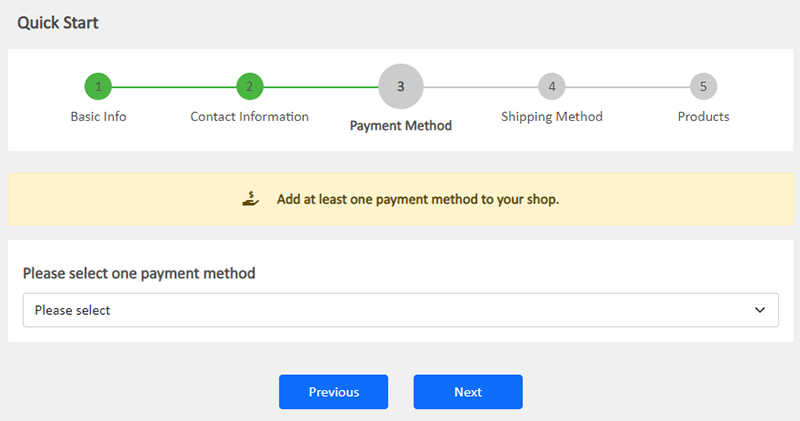
5. Payment Method
You are required to add at least one payment method to your shop.
You can go to Admin Panel > Settings > Payment to add more payment methods.
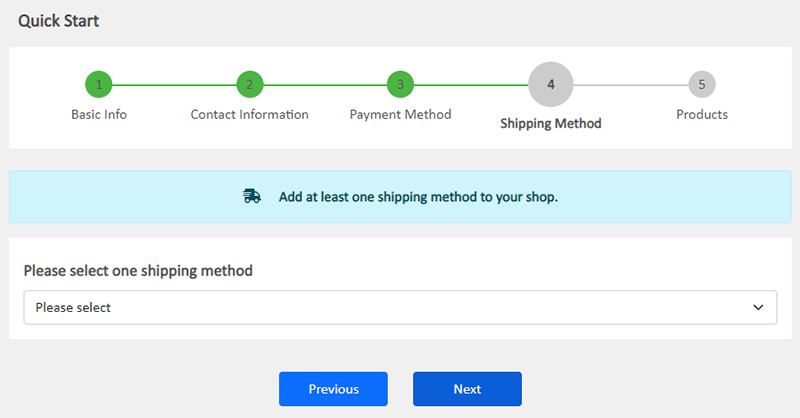
6. Shipping Method
You are required to add at least one shipping method to your shop.
You can go to Admin Panel > Settings > Shipping to add more shipping methods.
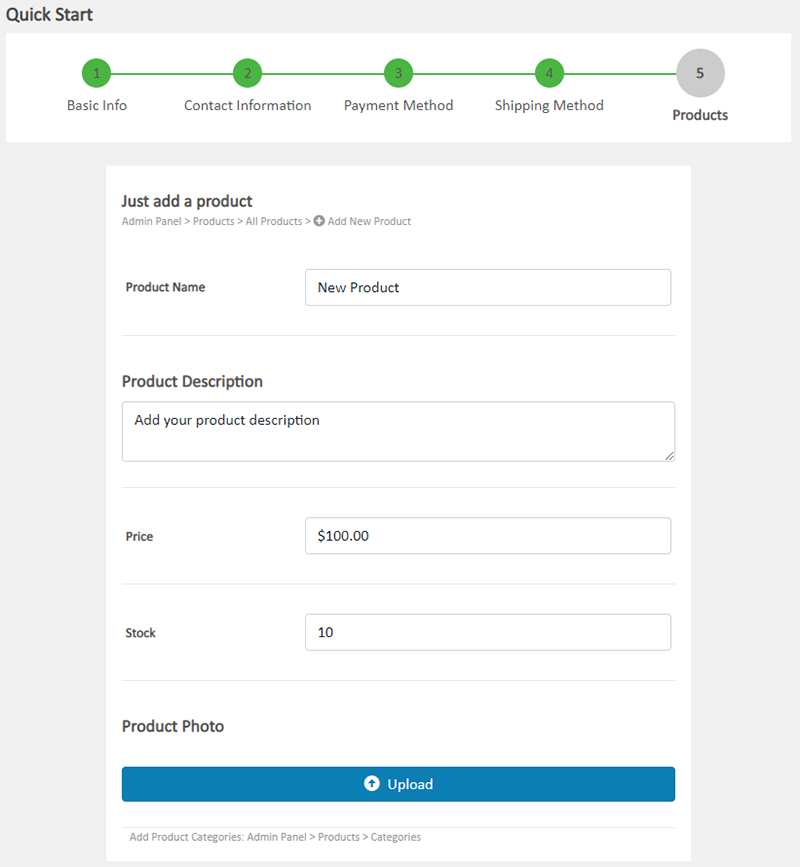
7. Add a Product
You are required to add at least one product to your shop.
Enter the following product details:
Name
Description
Price
Stock
Photo
You can go to Admin Panel > Products > All Products to add more settings for the product and to add more products to your shop.
You can go to Admin Panel > Products > Categories to add a category for this product.
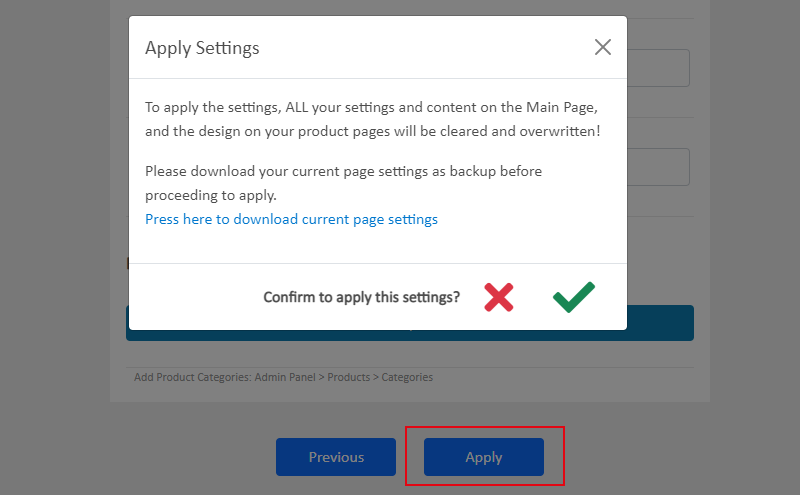
8. Apply Settings
“Apply” the “Quick Start” settings and your “Basic Shop” will be auto generated.
If you have added any design onto your shop previously, the content will be cleared and overwritten. You are recommended to backup before applying the “Quick Start” settings.
If you are a new user, “Apply” the “Quick Start” settings when your setup is completed.
Once the Basic Shop is generated, the shop status will be auto set to “Open”, that means your shop is opened to the public and can process order transactions immediately.
You can go to Admin Panel > Settings > General > Shop Status to change your shop to “Preparing”, that means your shop is still preparing, all pages and content will not be viewable by the public and the shop cannot accept orders.
Popular Articles


You May Also Like
Utilizing Multiple Payment Methods
eshopland ecommerce platform allows merchants to add multiple payment methods to best fit your business needs and to offer diversified options for your customers. Merchants can better utilize the m... [read more]
Social Media Share Icons
eshopland ecommerce platform is equipped with comprehensive web design features that are user-friendly, enabling any merchants to design personalized and professional online shop effortlessly. Merch... [read more]
Payment Asia Online Payment Gateway
eshopland ecommerce platform integrated with Payment Asia payment gateway system which supports various payment methods such as credit cards, digital wallets and other online payment methods. eshopl... [read more]
Connect Your Domain
You can connect your purchased domain to eshopland platform, so you customers can browse your online shop via your domain. Using a custom domain on your online shop can effectively build trust as we... [read more]