Product List Style
eshopland e-commerce platform allows merchants to design the product listing style in the Layout Designer. Users can adjust the product list style to match your shop design.
eshopland offers you high flexibility in shopfront design, make it much easier to build your preferred shop style.
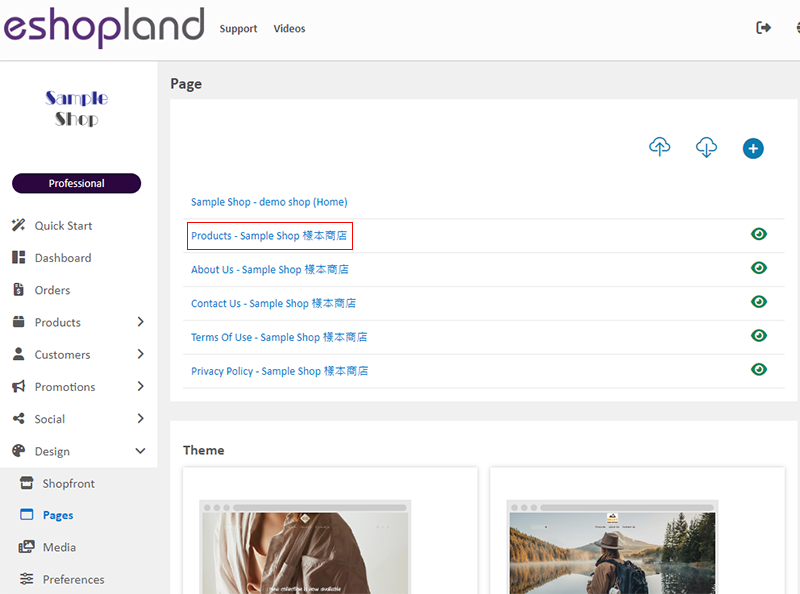
1. Product List Page
Go to Admin Panel > Design > Pages, click “Products” to enter the page.
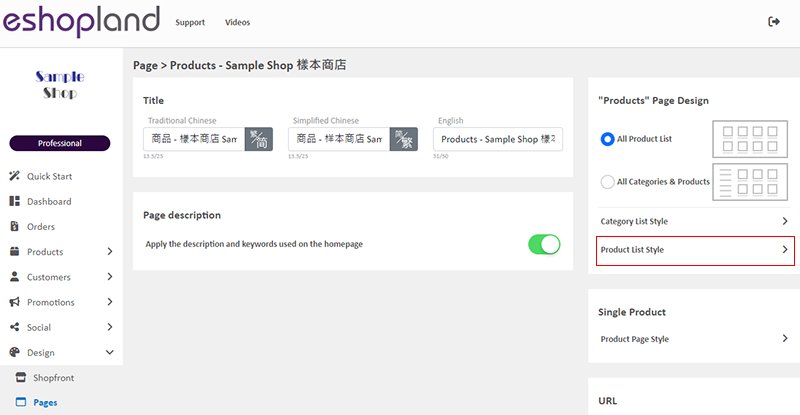
2. Product List Style
Click Product List Style to enter the setup page.
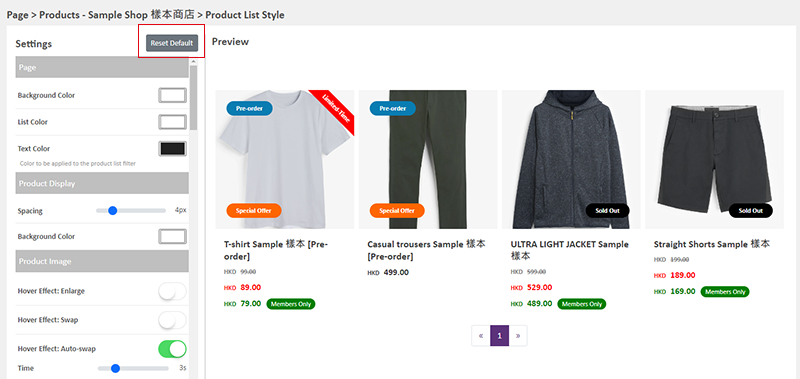
3. Styling Features
You can design the product listing style of your online shop.
You can preview the styling effect instantly.
When you update and save the style, the new style will be automatically applied to the All Product List Module, All Categories & Products, Products In Category and Featured Products webpage design modules.
For the steps to design different sessions of the product list, you can refer to the following tutorial articles:
Enlarge or Swap Product Images
4. Reset Default
You can click “Reset Default” to reset all the Product List Style to the system default settings.
5. Apply
When finished setting, Save  to apply the changes.
Popular Articles


You May Also Like
Add Categories onto Navigation Bar
Adding product categories or subcategories to the navigation bar on your online shop can make it easier for your customers to find suitable products, enhancing their browsing and shopping experienc... [read more]
Advanced Footer Design
To enhance the design flexibility for merchants to personalize the shop webpages, eshopland Layout Designer has added advanced footer design elements. Merchants can customize the footer style to mat... [read more]
Show or Hide Inventory
To accommodate the operational needs of different merchants, the e-commerce platform is equipped with customized inventory display feature. This allows merchants to decide whether to “show” or “hide... [read more]
Page Settings
eshopland platform allows you to specify the page settings your shop webpages, effectively improve the on-page SEO (search engine optimization) and make customers to search your shop on the search e... [read more]