Tracking Tools – Google Tag Manager
You can add Google Tag Manager (GTM) onto your eshopland online shop, to manage multiple tags of your online shop (such as Google Ads, Google Analytics, Facebook Pixel, etc.) and effectively track all events and page visits on your shop webpages.
1. Create Google Tag Manager Account
Sign in your Google Account, enter Google Tag Manager to “Create Account”.

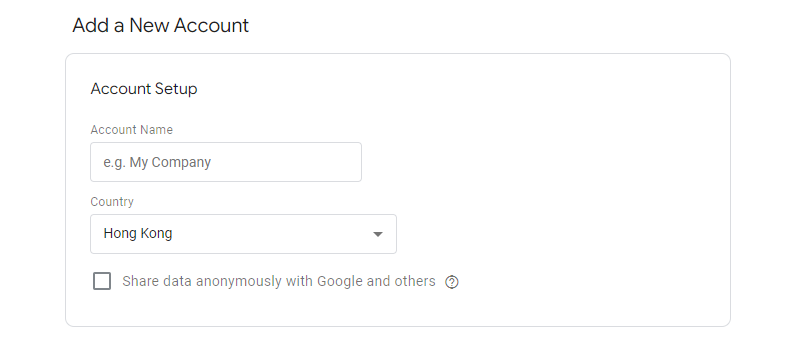
Fill in your Company or Online Shop information.
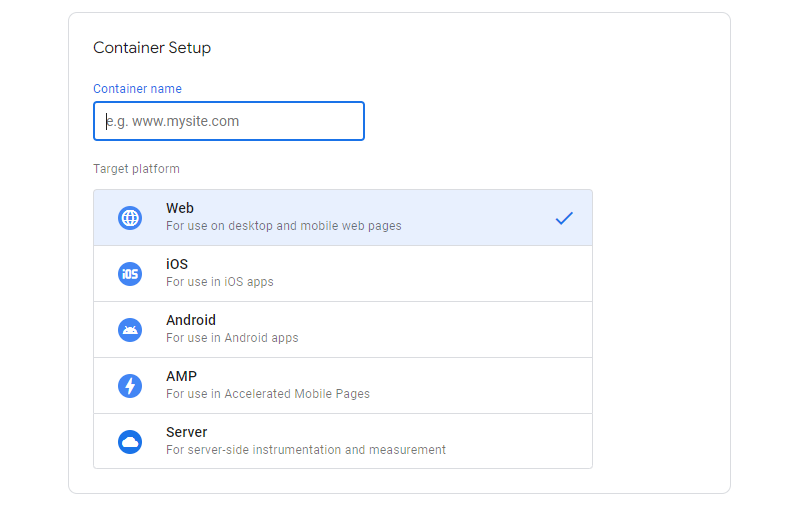
Set the Container name and select the Target platform.
Press “Create” and Accept the Google Tag Manager Terms of Service to create an account.
The page will be directed to Google Tag Manager Workspace and the code below will appear on the screen.
Since eshopland has already in-built the codes onto the shops, you can simply click “X” to Close the codes.
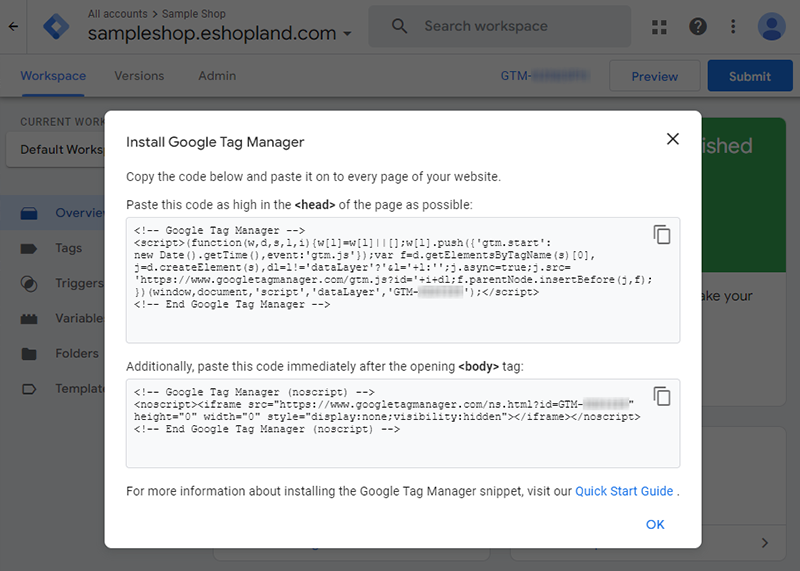
2. Copy the GTM Container ID
You can find your GTM Container ID (GTM-XXXXXXX) near the top of the window.

3. Add the GTM Container ID onto your eshopland account
Go to eshopland Admin Panel > Settings > Integration > Tracking Tools.
 Enable Google Tag Manager and paste your GTM Container ID into the field, then press Save
  .
.
The Google Tag Manager has been successfully added onto your eshopland shop, you can create new triggers of the container on Google Tag Manager now.

Popular Articles


You May Also Like
Pexels Free Stock Photos
eshopland has integrated with Pexels free stock photos website, inbuilt the Pexels Free Stock Photo Gallery into the system, allowing you to use free high quality stock photos to build and design y... [read more]
Manage Modules
Utilizing modular layout design in the web design architecture of the online shops, eshopland ecommerce platform offers various design modules with different functionalities, allowing you to add, ed... [read more]
Navigation and Footer Menus
You can set the Navigator menu bar and Footer menu bar on the eshopland Layout Designer, to the design of your online shop.How to Add Categories onto the Navigation BarHow to set Advance Footer Desi... [read more]
Receipts and Bills
You can view the receipts and bills of your online shop on eshopland admin panel. Clear billing for effective accounting management.1. Billing List.Go to Admin Panel > Account > Billing to view all... [read more]