Mobile Menu Settings
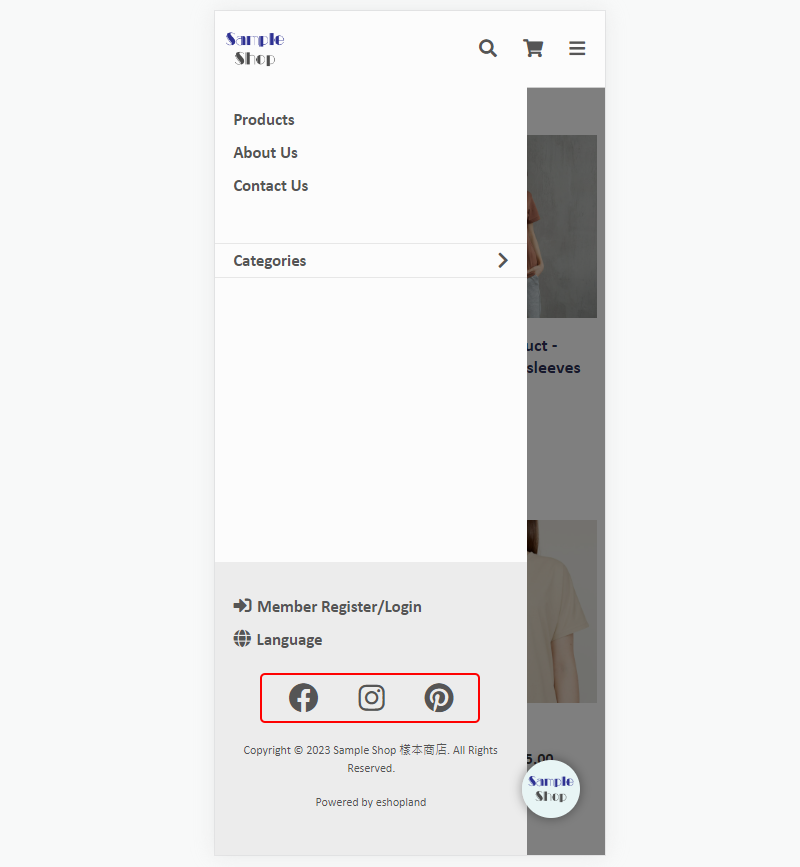
When merchants use eshopland ecommerce platform to create online shops, they can customize the shop’s mobile menu. The mobile menu is synchronized with the navigation bar on the web version. Merchant can choose to add the “Categories” shortcut and links to social media on the mobile menu, allowing visitors to browse the products by categories and also contact the merchant via the social media links more conveniently.
1. Mobile Menu 'Categories' Shortcut
Go to Admin Panel > Design > Preferences > Settings
Enable  Mobile Menu 'Categories' Shortcut
Enabled by default.
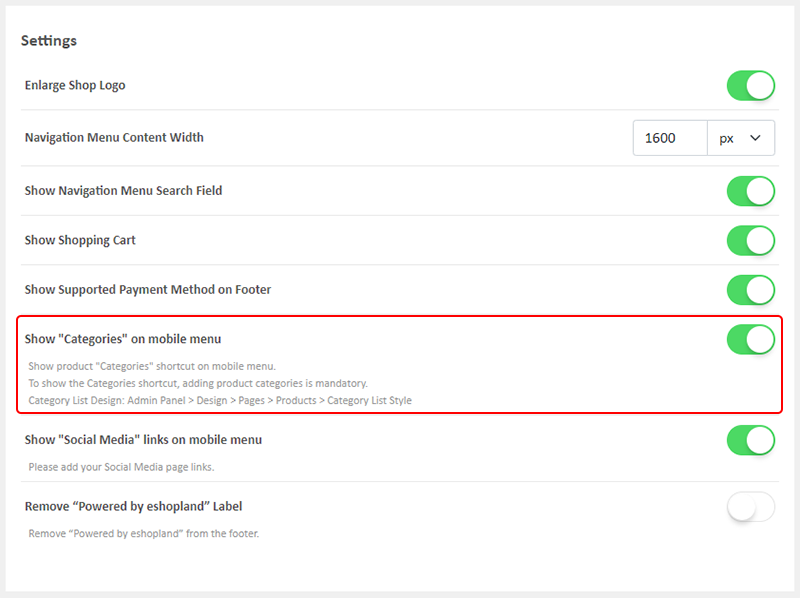
You are required to add product categories in order to show the Categories shortcut on the mobile menu.
If you disable it, the Categories shortcut will be hidden and will not displayed on the mobile menu.
Merchants can also add an “All Categories” link directly in the “Navigation Menu Items”. For instructions on how to do this, you can refer to this tutorial article.
To show the product “Categories” shortcut on the mobile menu.
If you haven’t added any categories to your online shop, the “Categories” shortcut will not be displayed on the mobile menu.
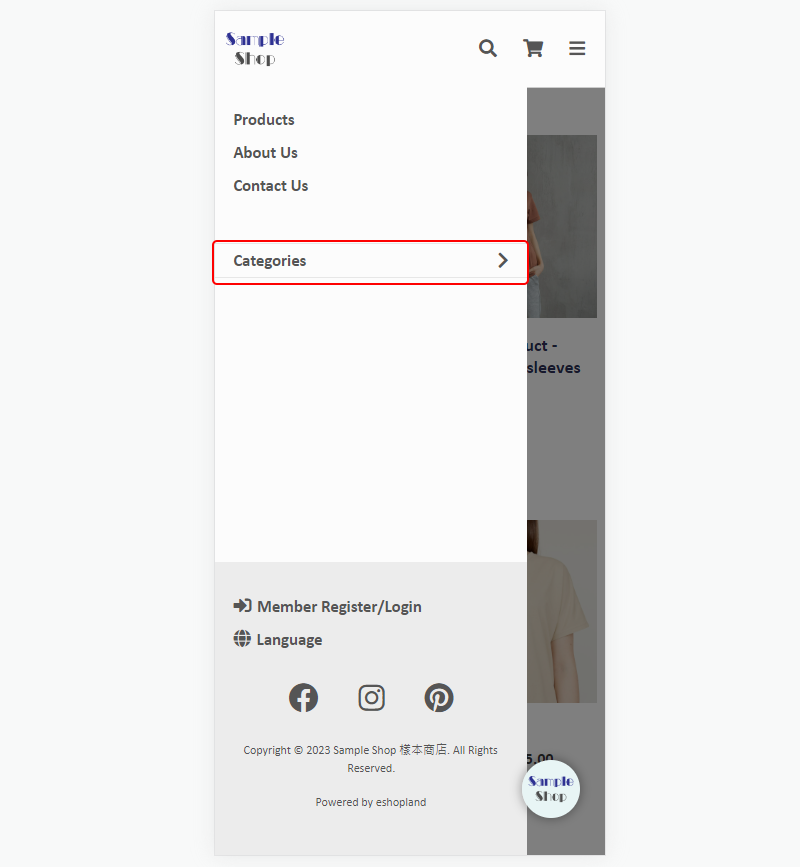
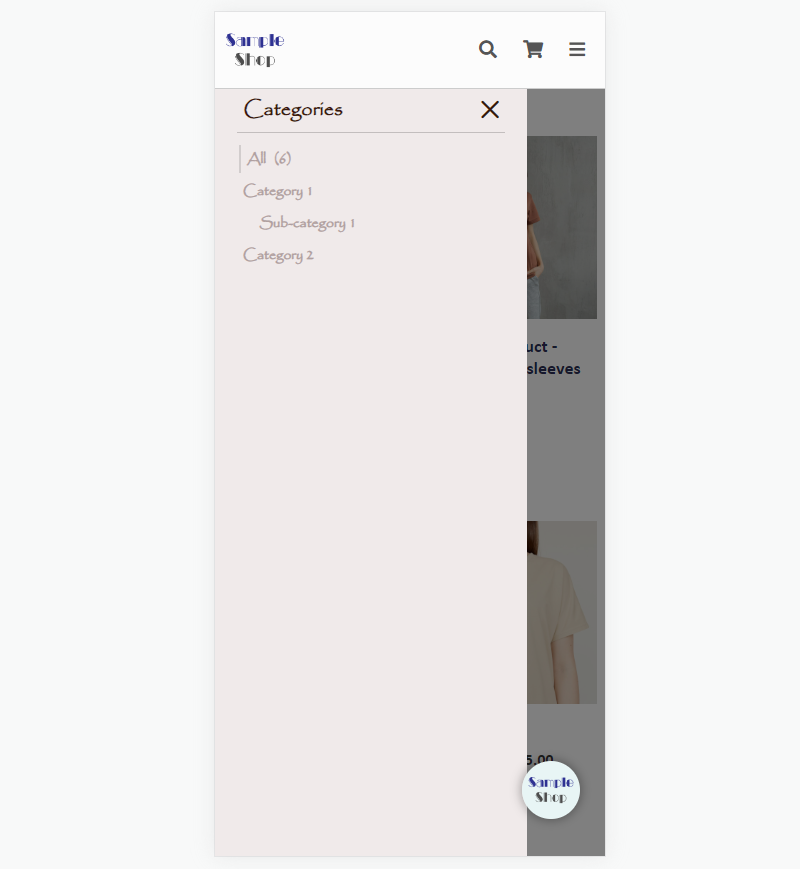
The category list will appear when pressing the Categories shortcut.
You can design the Category List on Admin Panel > Design > Pages > Products > Category List Style.
For details on how to design the Category List, please visit Category List Style.
2. Show “Social Media” links on Mobile Menu
Enable Show “Social Media” links on mobile menu
Enabled by default.
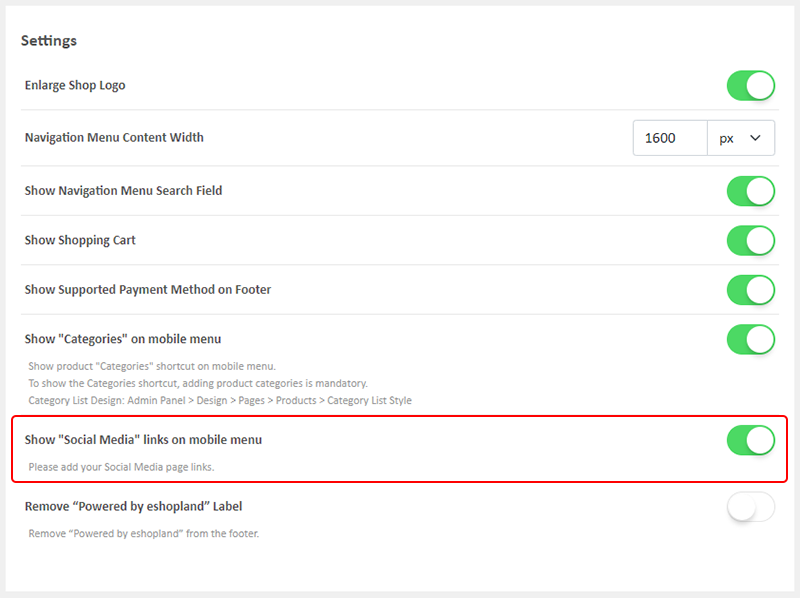
You are required to add social media page links in order to show the social media icons on the mobile menu.
Popular Articles


You May Also Like
Product Media (Image & Video)
Adding images and videos to the product pages, let customers know more about your products in detail.Below are the steps and notes on how to upload or change the product media (images and videos).1.... [read more]
Auto Deduct Order Inventory
The comprehensive eshopland online shop platform automatically updates inventory records based on the real-time status of online shop orders, eliminating the need for manual inventory updates by mer... [read more]
Traditional-Simplified Chinese Conversion
eshopland offers you a handy way to convert Traditional Chinese and Simplified Chinese content in a second. Just press the Traditional-Simplified Chinese Conversion Button to speedy convert and cop... [read more]
Stripe Auto Payment Method
eshopland platform supports the international well-known payment platform, Stripe, as one of the payment methods of your online shop. Your customers will be able to shop and pay by credit cards and ... [read more]