Mobile Menu Settings
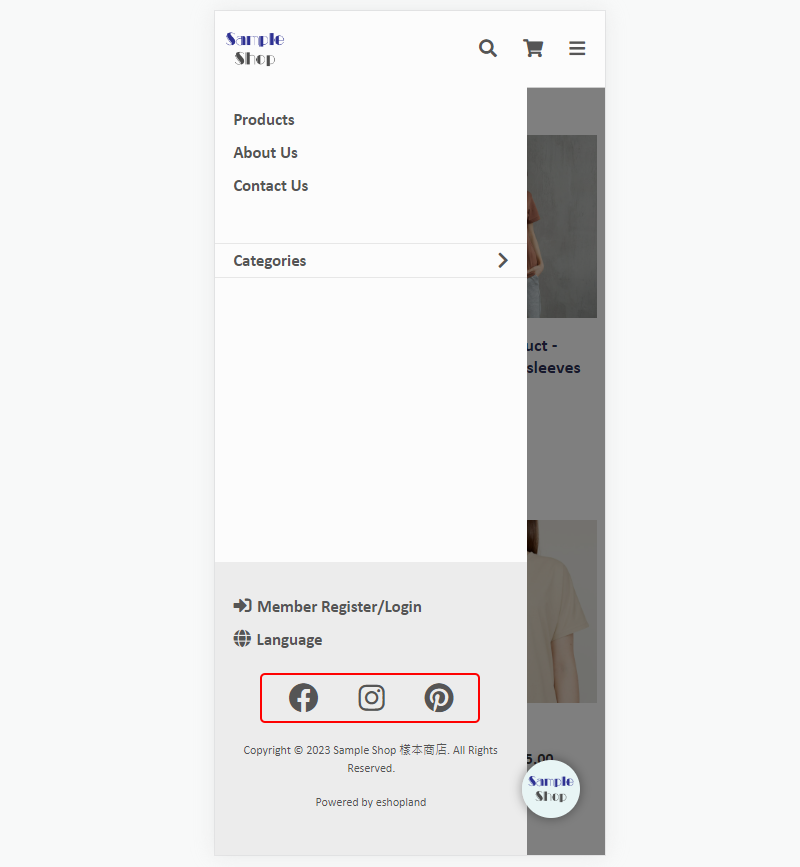
When merchants use eshopland ecommerce platform to create online shops, they can customize the shop’s mobile menu. The mobile menu is synchronized with the navigation bar on the web version. Merchant can choose to add the “Categories” shortcut and links to social media on the mobile menu, allowing visitors to browse the products by categories and also contact the merchant via the social media links more conveniently.
1. Mobile Menu 'Categories' Shortcut
Go to Admin Panel > Design > Preferences > Settings
Enable  Mobile Menu 'Categories' Shortcut
Enabled by default.
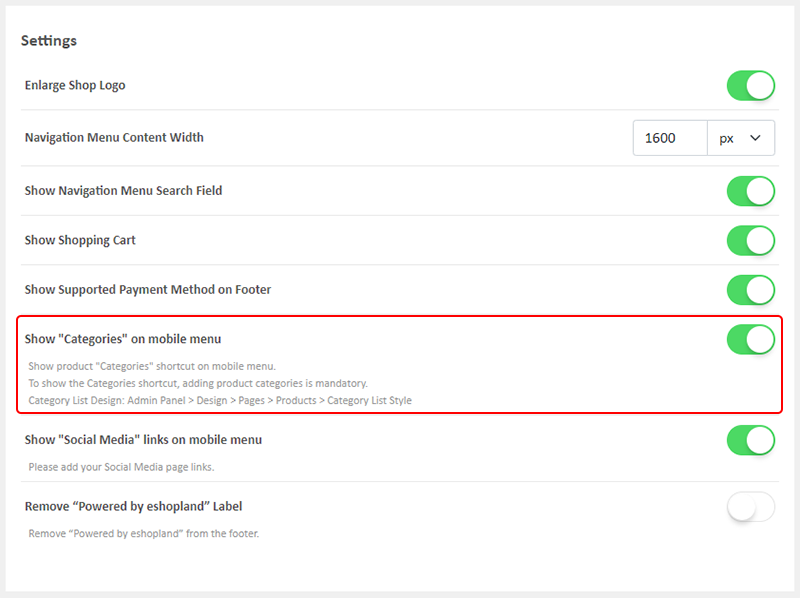
You are required to add product categories in order to show the Categories shortcut on the mobile menu.
If you disable it, the Categories shortcut will be hidden and will not displayed on the mobile menu.
Merchants can also add an “All Categories” link directly in the “Navigation Menu Items”. For instructions on how to do this, you can refer to this tutorial article.
To show the product “Categories” shortcut on the mobile menu.
If you haven’t added any categories to your online shop, the “Categories” shortcut will not be displayed on the mobile menu.
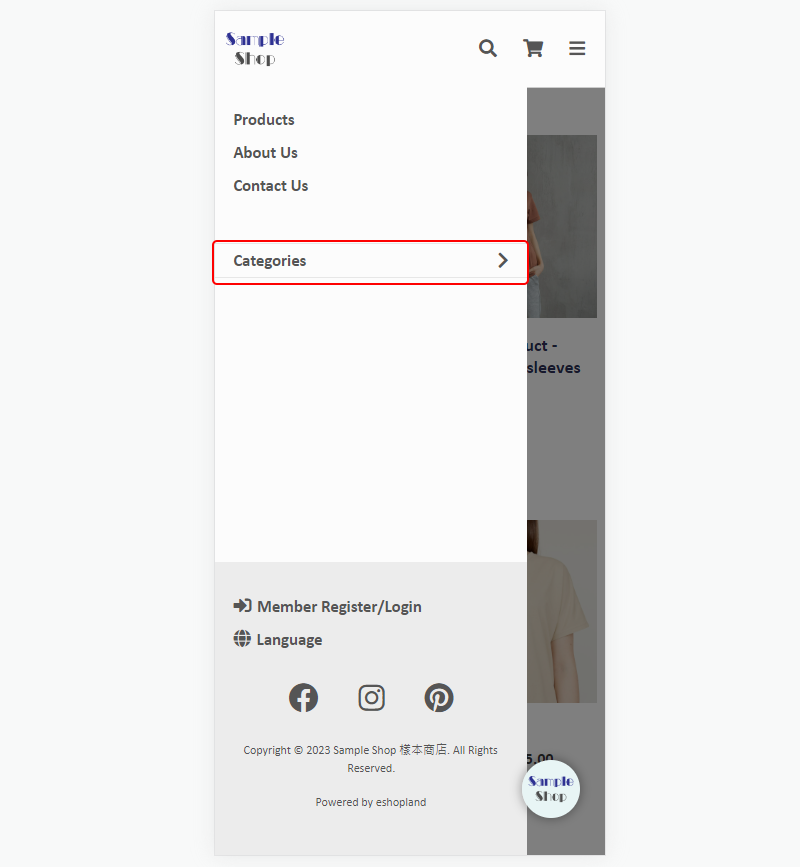
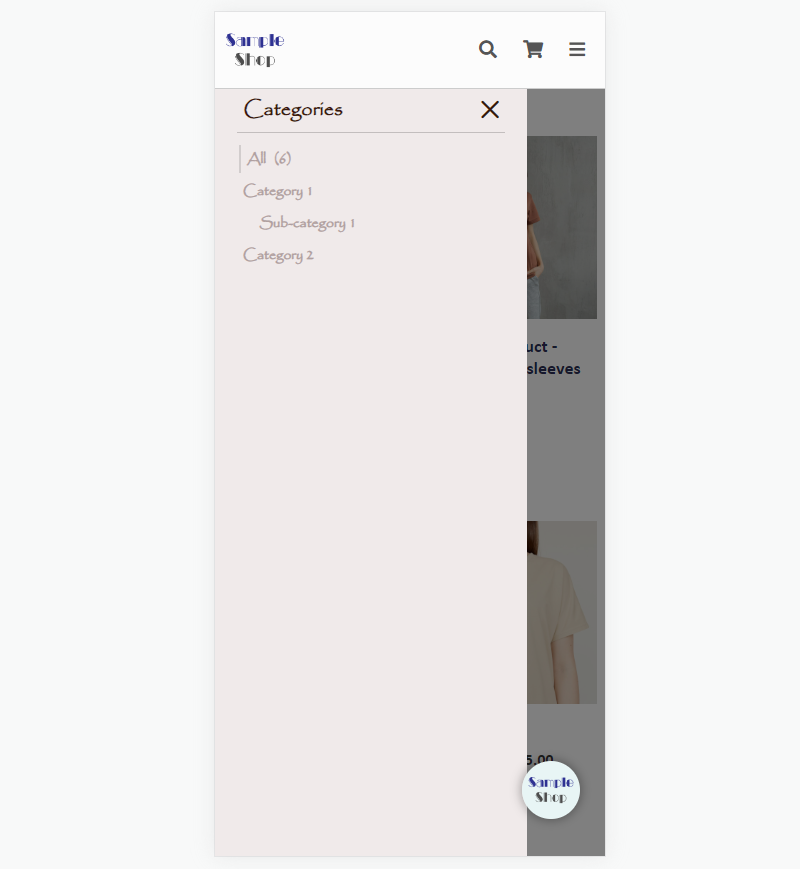
The category list will appear when pressing the Categories shortcut.
You can design the Category List on Admin Panel > Design > Pages > Products > Category List Style.
For details on how to design the Category List, please visit Category List Style.
2. Show “Social Media” links on Mobile Menu
Enable Show “Social Media” links on mobile menu
Enabled by default.
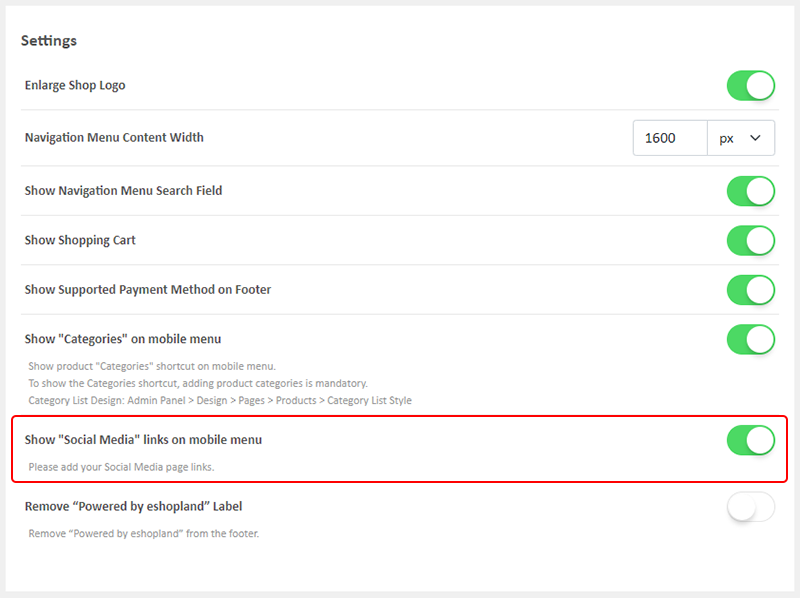
You are required to add social media page links in order to show the social media icons on the mobile menu.
Popular Articles


You May Also Like
Free Gift Offer
On eshopland ecommerce platform, merchants can offer complimentary gifts and add different terms to the deal to attract orders and boost sales. The system will automatically apply the offer and calc... [read more]
Time Limited Offers
Merchants can set various promotions and offers on eshopland ecommerce platform to boost sales. Time limited offers can effectively catch the consumer psychology and encourage immediate purchase.All... [read more]
“Product List” Page Design
On eshopland ecommerce platform, merchants can customize the “Products” page design. eshopland offers you high flexibility on web design, to create a personalized shop website is just simple.1. The ... [read more]
Submit Sitemap to Google
All eshopland shops auto generate sitemap, which is sitemap.xml file providing information of a website. Search engines read this file to crawl the website more efficiently. You only have to submit ... [read more]