Media Gallery Folders
Web Design・Design and Product Images・Image Classification
Merchants can make good use of the multifunctional media gallery built into eshopland online shop platform. By creating different media folders in the media gallery, merchants can categorize and store various media and images, making the media gallery more organized and improving management efficiency.
1. Enter the Media Gallery
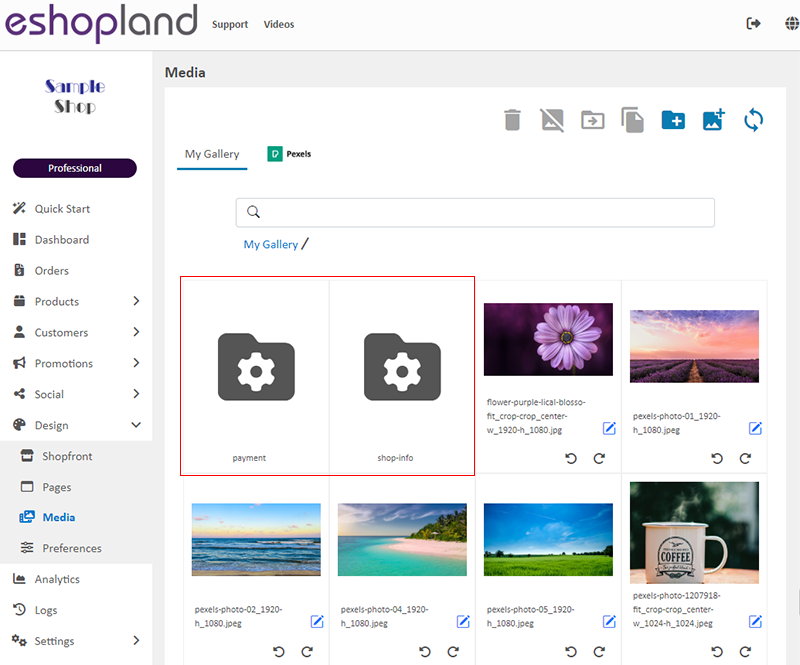
Go to Admin Panel > Design > Media.
Images which are not added to any folder will be automatically stored in “My Gallery”.
The “shop-info” and “payment” folders are system-generated and cannot be renamed or deleted.
2. Create a Folder
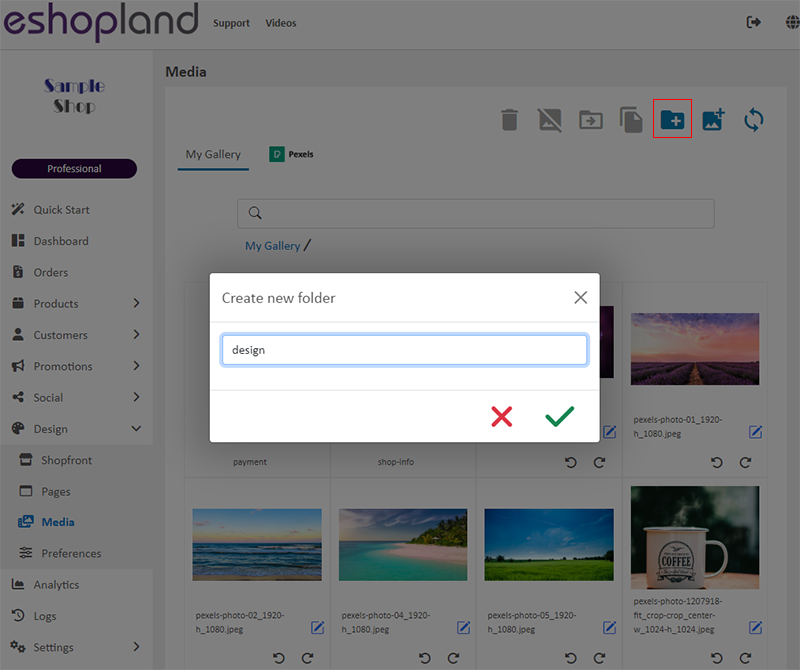
Click on the Create Folder  icon in the toolbar,
to add a new folder.
You must name the new folder.
Creating folders help organize and manage media files in the media gallery, simplifying the process or periodically cleaning up images.
3. Manage Folders
Rename Folder:
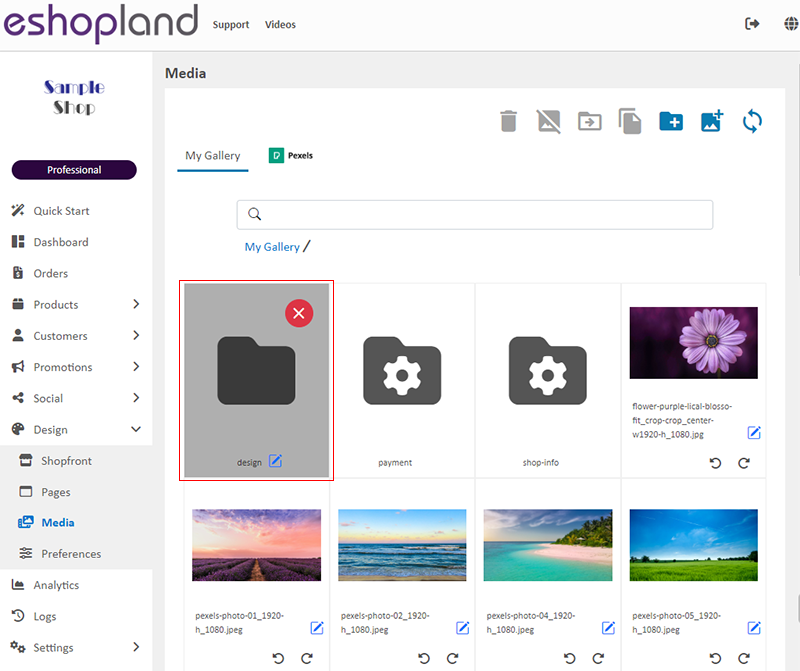
Click on the Edit icon  next to the folder to rename it.
Delete Folder:
Click on the Delete icon  at the top right of the folder to delete it.
When a folder is deleted, all media files within the folder will also be deleted.
4. Copy Media Files to Folder
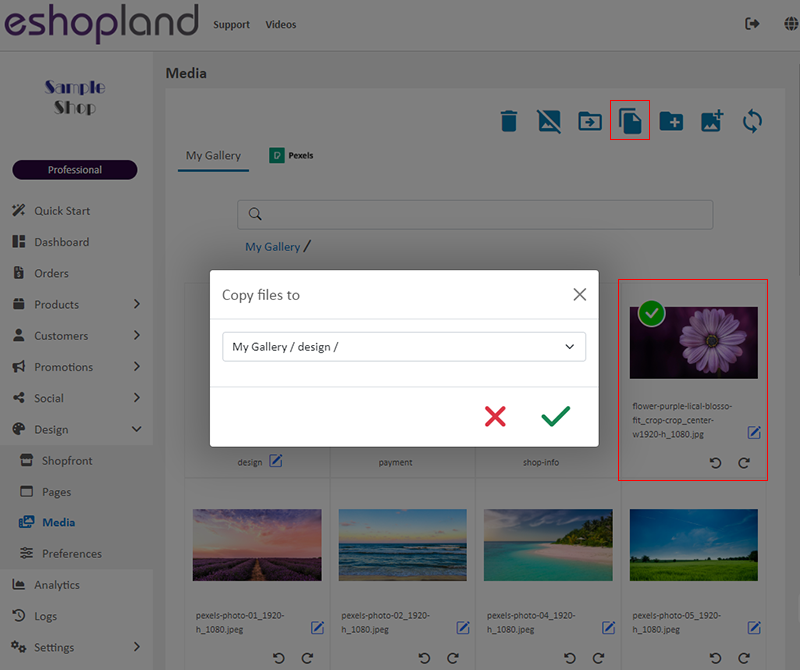
Click on an image in the media gallery,
Click on Copy to Folder 
to copy the image to a folder in the media gallery.
After copying the image to folder, the original image’s path will not change, and the image will still exist in “My Gallery”.
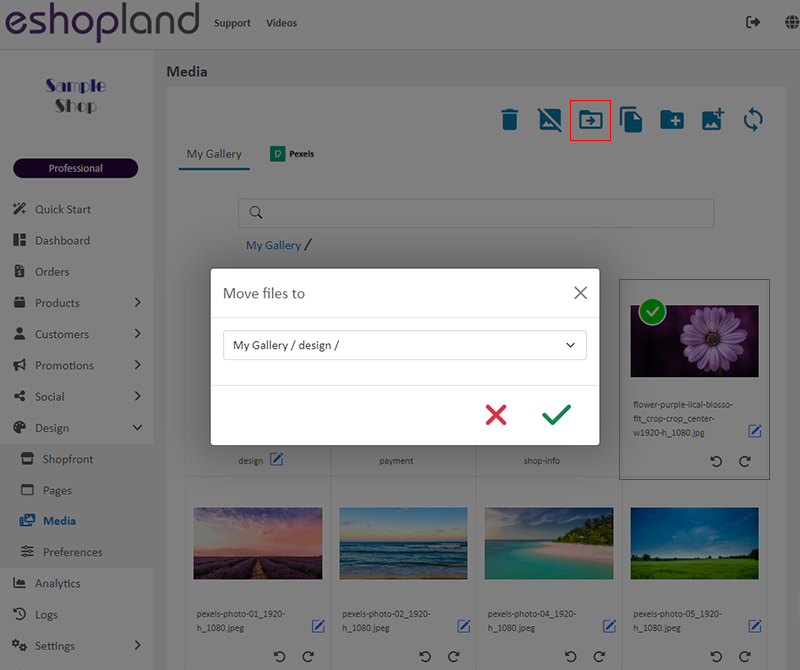
5. Move Media Files to Folder
Click on an image in the media gallery,
Click on Move to Folder 
to move the image to a folder in the media gallery.
After moving the image to the folder, the original image’s path will be updated immediately, and the image will no longer appear in “My Gallery”.
To avoid affecting the normal display or related images on your online shop webpages, it is recommended to apply the image after moving it.
You can also reapply the moved media image at the relevant locations on your webpages.
Popular Articles


You May Also Like
Show or Hide Inventory
To accommodate the operational needs of different merchants, the e-commerce platform is equipped with customized inventory display feature. This allows merchants to decide whether to “show” or “hide... [read more]
Products for Members Only
For “Professional” plan users of eshopland, individual products can be set as “Members Only” and purchase quantities can be limited, in order to attract customers to register as members of the onlin... [read more]
Contact Customers via WhatsApp
When a customer provides one’s mobile number and enable the WhatsApp contact feature during checkout, merchant can contact the customer regarding the order issues via WhatsApp through our system ver... [read more]
Service Plans
eshopland online shop platform offers competitive pricing service plans to satisfy your different budget and requirements. Merchants can always upgrade to higher service plans anytime within the ser... [read more]